
Trapezium Area
Loading the math board and drawing, please wait…
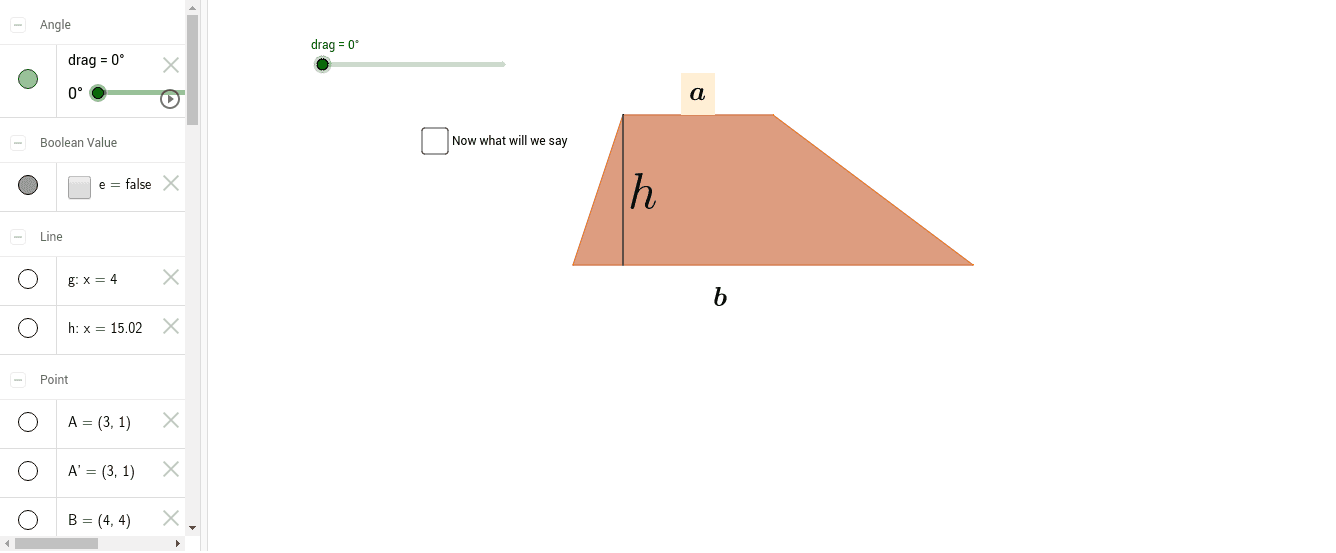
This example demonstrates the calculation of a trapezium's area. Key mathematical concepts include the properties of a trapezium and its area formula. Using GeoGebra commands such as Polygon, Midpoint, Rotate, etc., the example dynamically shows how the area of a trapezium changes. Suitable for middle school and above students to learn geometric construction and area calculation.
GeoGebra Commands & Parameters
Polygon(A, B, C, D) → poly1, a, b, c, dMidpoint(C, D) → ERotate(A, drag, E) → A'Rotate(B, drag, E) → B'Rotate(C, drag, E) → C'Rotate(D, drag, E) → D'Polygon(A', B', C', D') → poly1', a', b', c', d'Intersect(a, b) → FPoint(d) → GSegment(F, G) → fIntersect(a, b) → HLine(H, I) → gLine(J, g) → hPoint(g) → KPoint(h) → LVector(K, L) → uVector(L, K) → v
AI Drawing Prompt Reference
Draw a trapezium with four vertices connected in order. Take the midpoint of the lower base, and rotate the entire trapezium around this midpoint by an arbitrary angle to obtain a rotated trapezium. Extend one leg of the original trapezium to intersect the other leg, and draw a segment from this intersection point to a point on the lower base. Then construct two parallel lines, one passing through a point on the upper base and the other through a point on the lower base. Place a point on each parallel line and draw arrow vectors between these two points in both directions to illustrate the area relationship of the trapezium.
The prompt above was compiled from the original drawing commands and is for reference only.