
Step 5: Rotate and Apply Design to the Last Side
Loading the math board and drawing, please wait…
In collections
Not Real, Practice Triangle Rotation Tessellation Math 206
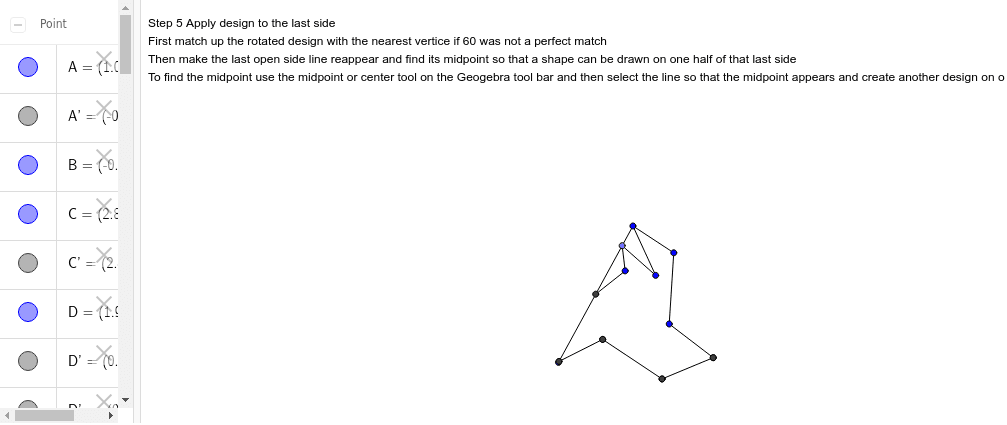
This example demonstrates how to construct the last side of a polygon by rotating and applying a design. Key mathematical concepts include geometric transformations and polygon construction. It uses Segment, Rotate, Midpoint, and Point commands in GeoGebra. Suitable for middle school and above students learning geometric transformations and polygon construction.
GeoGebra Commands & Parameters
Segment(A, B) → aSegment(B, C) → bSegment(C, A) → cSegment(A, D) → dSegment(D, E) → eSegment(E, C) → fRotate(A, 60*°, C) → A'Rotate(D, 60*°, C) → D'Segment(A', D') → d'Rotate(D, 60*°, C) → D'_1Rotate(E, 60*°, C) → E'Segment(D'_1, E') → e'Rotate(E, 60*°, C) → E'_1Rotate(C, 60*°, C) → C'Segment(E'_1, C') → f'Midpoint(a) → FSegment(F, G) → gPoint(a) → HSegment(H, I) → hSegment(A, I) → iSegment(H, G) → j
AI Drawing Prompt Reference
Draw a polygon by first creating a triangle with three line segments, then extend three longer line segments from each vertex of the triangle to form a hexagon. Rotate the first vertex of the hexagon around the center of the triangle by 60 degrees, and connect the rotated vertex to the other end of the corresponding longer line segment. Repeat the rotation and connection steps until the entire shape is constructed. Finally, draw a line segment from the midpoint of the first line segment, and connect the endpoints of this segment to the sides of the polygon to create a decorative pattern.
The prompt above was compiled from the original drawing commands and is for reference only.