
Triangle Rotation Tessellation Step 4
Loading the math board and drawing, please wait…
In collections
Triangle Rotation Tessellation
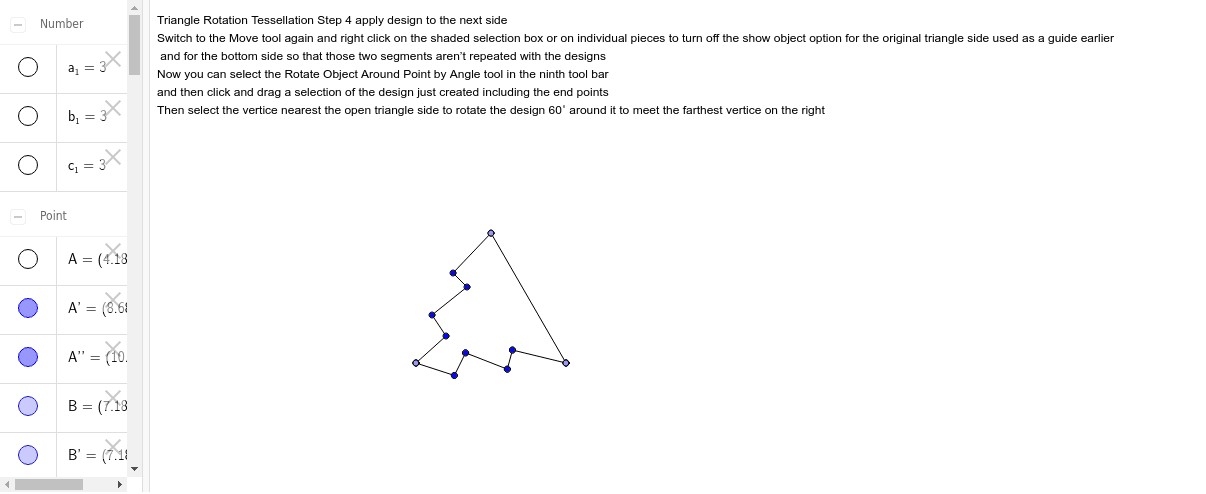
This example demonstrates the 4th step of triangle rotation tessellation, applying the design to the next side through rotation. Key mathematical concepts include rotation and vectors. It is constructed using GeoGebra commands such as Point, Segment, Rotate, etc. Suitable for middle school and above students learning geometric transformations.
GeoGebra Commands & Parameters
Point(Circle[A, 3]) → BSegment(A, B) → aPoint(Circle[B, 3]) → CSegment(B, C) → bPoint(Circle[C, 3]) → DSegment(C, D) → cRotate(A, -120*°, B) → A'Rotate(B, -120*°, B) → B'Segment(A', B') → a'Rotate(C, 120*°, C) → C'Rotate(D, 120*°, C) → D'Segment(C', D') → c'Segment(A', E) → dSegment(E, F) → eSegment(F, G) → fSegment(G, H) → gSegment(H, B) → hRotate(A', -60*°, B) → A''Rotate(E, -60*°, B) → E'Segment(A'', E') → d'Rotate(E, -60*°, B) → E'_1Rotate(F, -60*°, B) → F'Segment(E'_1, F') → e'Rotate(F, -60*°, B) → F'_1Rotate(G, -60*°, B) → G'Segment(F'_1, G') → f'Rotate(G, -60*°, B) → G'_1Rotate(H, -60*°, B) → H'Segment(G'_1, H') → g'Rotate(H, -60*°, B) → H'_1Rotate(B, -60*°, B) → B'_1Segment(H'_1, B'_1) → h'Rotate(B', -60*°, B) → B''Rotate(D', -60*°, B) → D''
AI Drawing Prompt Reference
Draw a hexagon pattern composed of three equilateral triangles. Start by drawing a circle with center A and radius 3 to get point B, then connect AB. Next, draw a circle with center B to get point C, then connect BC. Then, draw a circle with center C to get point D, and connect CD. Rotate point A 120 degrees counterclockwise around B to get A', and rotate point C 120 degrees clockwise around C to get C', then connect A'C'. Continue by drawing a circle with center C to get point D', and connect CD'. Then, draw segments A'E, EF, FG, GH, and HB. Next, rotate A' 60 degrees counterclockwise around B to get A'', and rotate E 60 degrees counterclockwise around B to get E', then connect A''E'. Continue by rotating E 60 degrees counterclockwise around B to get E'_1, and rotate F 60 degrees counterclockwise around B to get F', then connect E'_1F'. Then, rotate F 60 degrees counterclockwise around B to get F'_1, and rotate G 60 degrees counterclockwise around B to get G', then connect F'_1G'. Next, rotate G 60 degrees counterclockwise around B to get G'_1, and rotate H 60 degrees counterclockwise around B to get H', then connect G'_1H'. Finally, rotate H 60 degrees counterclockwise around B to get H'_1, and rotate B 60 degrees counterclockwise around B to get B'_1, then connect H'_1B'_1.
The prompt above was compiled from the original drawing commands and is for reference only.