
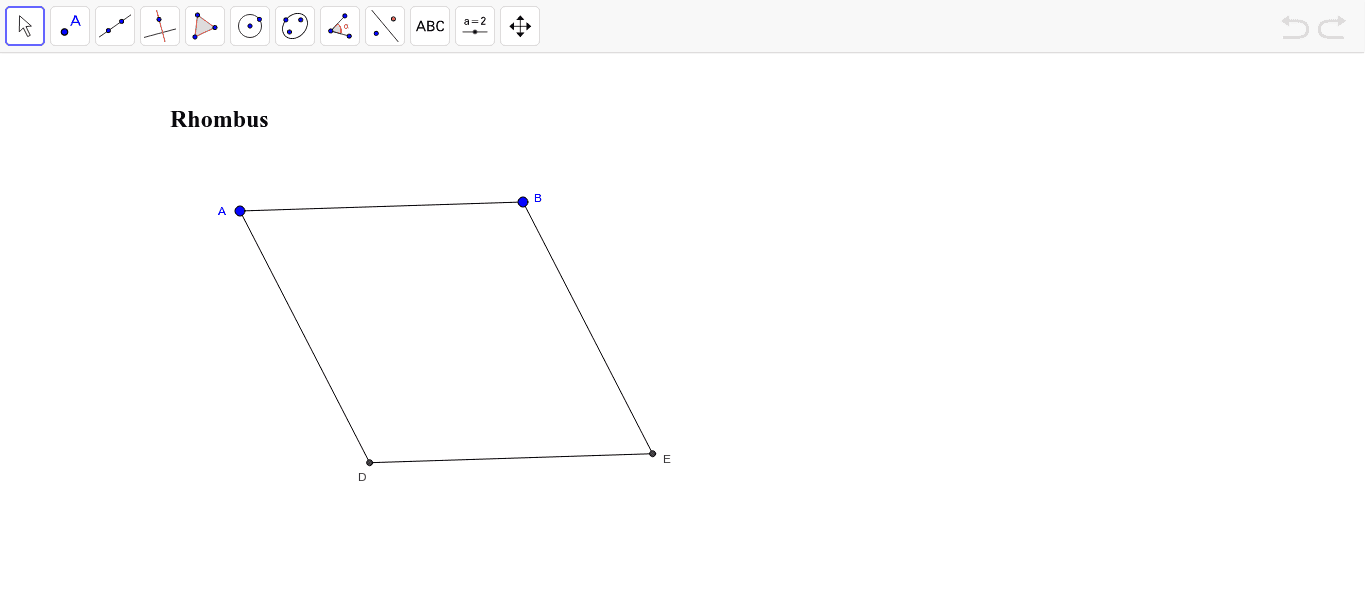
Constructing a Rhombus with GeoGebra
Loading the math board and drawing, please wait…
In collections
Types of Parallelograms
① This example demonstrates how to construct a rhombus in GeoGebra and illustrate its symmetry and the perpendicular bisecting property of its diagonals. ② Core mathematical concepts include quadrilateral classification, the definition of a rhombus, diagonal properties, and the geometric relationships of angle bisectors and perpendicular lines. ③ Construction highlights: Segment creates sides, Line builds auxiliary lines, AngularBisector draws angle bisectors, OrthogonalLine draws perpendiculars, Intersect finds intersection points, sequentially generating points A, B, C, D and labeling with text1. ④ Suitable for middle‑school geometry (grades 7‑9) as a construction demo, and also for high‑school analytic geometry review or teacher preparation materials.
GeoGebra Commands & Parameters
Segment(A, B) → aLine(A, C) → bAngularBisector(B, A, C) → cOrthogonalLine(B, c) → dLine(B, b) → eIntersect(b, d) → DIntersect(c, e) → ESegment(A, D) → fSegment(D, E) → gSegment(E, B) → h
AI Drawing Prompt Reference
Draw a rhombus by first creating two vertices A and B, then draw a line through A and C, followed by constructing the angle bisector and its perpendicular line, finding their intersection point D. Next, draw a line through B and C, and find the intersection of the angle bisector and the perpendicular line to get point E. Finally, connect A to D, D to E, and E to B to form the rhombus.
The prompt above was compiled from the original drawing commands and is for reference only.