
Symmetry and Splitting of a Circle
Loading the math board and drawing, please wait…
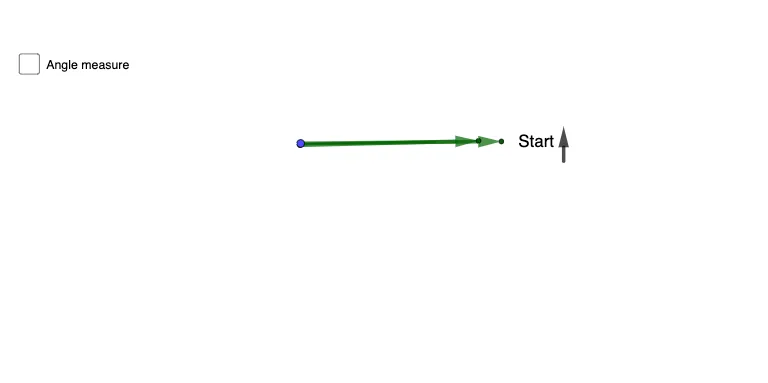
This example demonstrates how to split a circle into two parts using rotation and symmetry operations. Key mathematical concepts include the properties of circles, rotation transformations, and symmetry. Using GeoGebra commands such as Circle, Rotate, and Intersect, the process of geometric transformations is visually illustrated. Suitable for students at the junior high school level and above to learn about geometric transformations and symmetry.
GeoGebra Commands & Parameters
Circle(A, 4) → cPoint(c) → CSegment(A, C) → fVector(A, C) → aPoint(f) → PCircle(F, 3) → dPoint(d) → GLine(F, G) → iOrthogonalLine(F, i) → jIntersect(d, i, 2) → HIntersect(d, j, 1) → IIntersect(d, j, 2) → JSegment(I, J) → lRotate(G, 30°, F) → G'Angle(G, F, G') → αLine(G', F) → mRotate(G', 30°, F) → G''Angle(G', F, G'') → βLine(G'', F) → nOrthogonalLine(F, m) → pOrthogonalLine(F, n) → qIntersect(d, m, 2) → BIntersect(d, q, 2) → DIntersect(d, q, 1) → KIntersect(d, p, 2) → LIntersect(d, p, 1) → MIntersect(d, n, 2) → NCircle(F, 4.5) → ePoint(e) → EVector(F, E) → uAngle(u, a) → γPoint(u) → OPoint(a) → QCircleSector(F, O, Q) → gVector(R, S) → v
AI Drawing Prompt Reference
Draw a circle centered at F with radius 4.5 and mark a point E on it. Also draw a circle centered at A with radius 4 and let its center be C; connect A to C to indicate a reference direction. Construct additional geometry around the circle centered at F and a circle of radius 3 centered at G: draw a line through F determined by points F and G (i), then construct the perpendicular line through F (j). Intersect this radius-3 circle with i and with j to obtain the key intersection points (such as H, I, J and the points on the other intersections like B, D, K, L, M, N). Use rotation about F by 30° to rotate G to G′ and again rotate G′ to G′′, then draw the lines through G′–F and G′′–F. Finally, use these boundary points on the circles to form the sector at F with rays toward Q and the corresponding rotated directions.
The prompt above was compiled from the original drawing commands and is for reference only.