
Rotational Symmetry: Exploring the Angle of Symmetry
Loading the math board and drawing, please wait…
In collections
Rotations
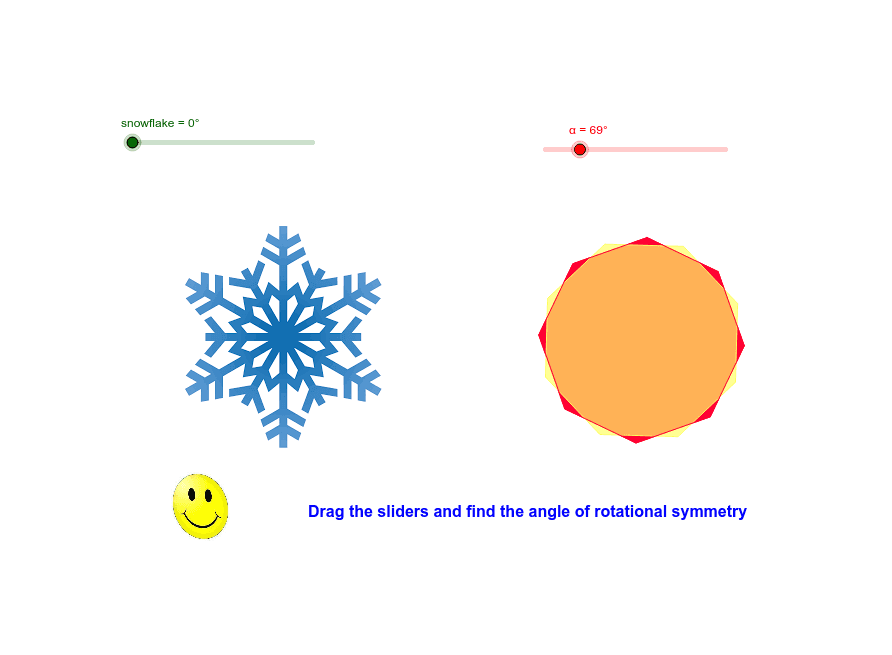
This GeoGebra example demonstrates rotational symmetry by rotating a given figure (such as a snowflake) and determining the smallest angle that maps the figure onto itself. It covers core mathematical concepts including rotational symmetry, symmetry order, rotation angle, and geometric transformations. The construction uses the Rotate command on polygons (poly1) and images (pic2), with a slider or angle parameter α to control the rotation, along with Intersect and Segment commands to create auxiliary points and segments for comparison. Suitable for middle or high school geometry classes, this activity helps students visualize symmetry, understand the relationship between rotation angle and symmetry order, and develop spatial reasoning skills.
GeoGebra Commands & Parameters
Rotate(pic2, snowflake, D) → pic2'Polygon(E, F, 8) → poly1, a, H, I, J, K, L, b, c, d, e, f, g, h, GSegment(L, H) → iSegment(K, G) → jIntersect(i, j) → MRotate(poly1, α, M) → poly1'
AI Drawing Prompt Reference
Draw a snowflake image with rotational symmetry, and rotate it around its center point. First, place the snowflake as the original figure, then construct a regular octagon and connect two of its diagonals so they intersect at a point, which serves as the rotation center. Next, rotate the octagon by a variable angle around this intersection point, while also rotating the snowflake image about the same point. By adjusting the rotation angle, observe when the figure maps onto itself to determine the smallest angle of symmetry. The drawing should include the original figure, the rotated figure, the rotation center, and auxiliary segments for comparison.
The prompt above was compiled from the original drawing commands and is for reference only.