
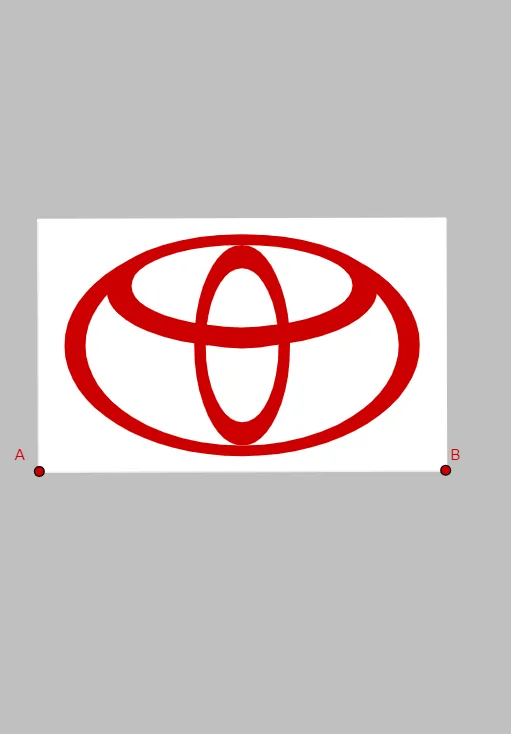
Geometric Construction of Toyota Logo
Loading the math board and drawing, please wait…
This example demonstrates how to construct the geometric shapes of the Toyota logo using GeoGebra. It involves core mathematical concepts such as angles, circles, geometry, line segments, linear regression, differential calculus, conic sections, logarithms, plane figures, vectors, orthogonal lines, orthogonal vectors, intersections, polygons, centroids, mirroring, ellipses, midpoints, circle arcs, and line segments. Key construction steps include using commands like LineBisector, Vector, OrthogonalLine, OrthogonalVector, Intersect, Polygon, Centroid, Mirror, Ellipse, Midpoint, CircleArc, and Segment. Suitable for high school mathematics education or for enthusiasts of geometric constructions.
GeoGebra Commands & Parameters
LineBisector(A, B) → jVector(A, B) → uOrthogonalLine(B, u, xOyPlane) → gOrthogonalVector(u) → vOrthogonalLine(C, v, xOyPlane) → fIntersect(g, f) → DLineBisector(C, A) → iPolygon(A, B, D, C) → c1, a, b, d, cCentroid(c1) → HMirror(K, j) → K'Ellipse(K', K, E, xOyPlane) → eMirror(G, i) → G'Mirror(I, j) → I'Ellipse(I, I', G, xOyPlane) → hMidpoint(C, A) → JLineBisector(E, H, xOyPlane) → kIntersect(j, k) → LMirror(M, j) → M'Ellipse(M', M, E, xOyPlane) → pMirror(N, j) → N'Ellipse(N', N, G, xOyPlane) → qMirror(O, i) → O'Ellipse(O, O', G, xOyPlane) → rMirror(P, i) → P'Ellipse(P, P', Q, xOyPlane) → sMirror(Q, j) → Q'Intersect(p, s) → R, S, ,Intersect(s, q) → T, U, ,Polygon(T, R, S, U) → c2, t, r_1, s_1, u_1CircleArc(V, R, S, xOyPlane) → c_1Segment(T, U) → lLineBisector(T, R, xOyPlane) → mIntersect(j, m) → ZCircleArc(Z, T, R, xOyPlane) → e_1Mirror(e_1, j) → f_1Segment(T, R) → nMirror(T, j) → T'Mirror(R, j) → R'Segment(T', R') → n'CircleArc(W, T, Q', xOyPlane) → d_1Segment(T, U) → g_1Segment(R, S) → h_1
AI Drawing Prompt Reference
Draw a geometric design resembling the Toyota logo, incorporating interconnected circles, polygons, and ellipses. Start by constructing a quadrilateral, find its centroid, and draw an ellipse centered at this point. Then, create multiple symmetric ellipses and circular arcs using mirroring and rotation, and finally connect key points with line segments to form the logo's outline.
The prompt above was compiled from the original drawing commands and is for reference only.