
Exploring Properties of a Rhombus
Loading the math board and drawing, please wait…
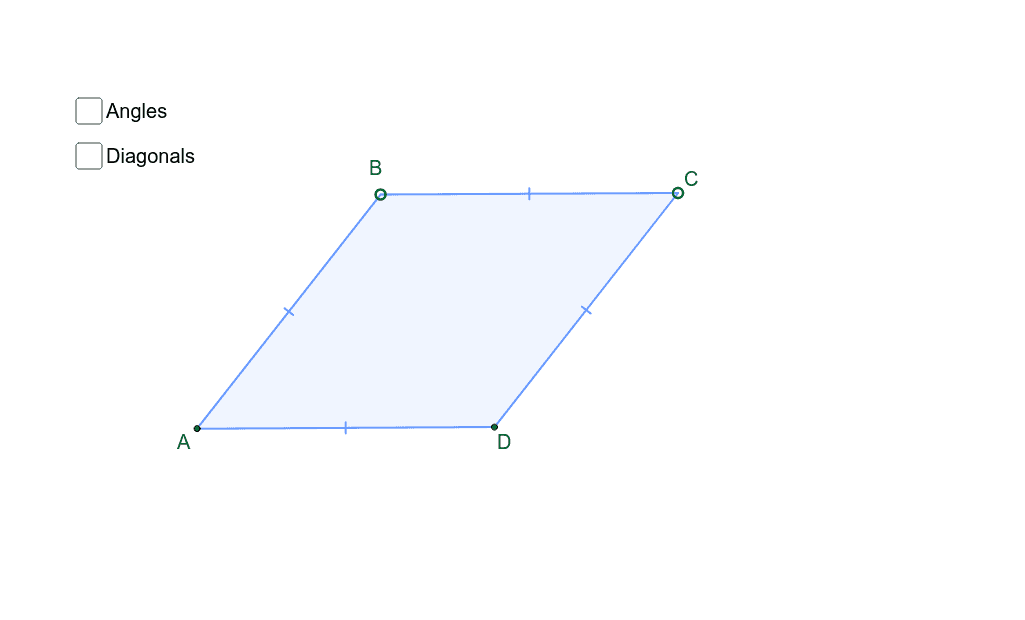
This interactive tool is used to investigate the properties of a rhombus. By constructing a rhombus, you can observe that the diagonals are perpendicular and bisect each other, and all four sides are equal in length. Using GeoGebra commands such as Segment, Midpoint, and OrthogonalLine, you can dynamically change the shape of the rhombus and observe how its properties change. Suitable for middle school and above students to learn geometric construction and property exploration.
GeoGebra Commands & Parameters
Segment(A, C) → aMidpoint(a) → XOrthogonalLine(X, a) → bPoint(b) → BMirror(B, a) → DPolygon(A, B, C, D) → poly1, a_1, d, b_1, d'Segment(A, X) → cSegment(X, C) → eSegment(B, X) → fSegment(X, D) → gAngle(A, B, C) → αAngle(B, C, D) → βAngle(C, D, A) → γAngle(D, A, B) → δAngle(A, X, D) → εAngle(A, B, X) → ζAngle(X, B, C) → ηAngle(B, C, X) → θAngle(X, C, D) → ιAngle(C, D, X) → κAngle(X, D, A) → λAngle(D, A, X) → μAngle(X, A, B) → ν
AI Drawing Prompt Reference
Draw a rhombus by first creating a line segment between points A and C, finding the midpoint X, drawing a line perpendicular to the segment through X, finding the intersection point B, and then finding the reflection point D of B across the segment. Use points A, B, C, and D to draw the rhombus. Then draw line segments AX, XC, BX, and XD, and measure the angles α, β, γ, δ, ε, ζ, η, θ, ι, κ, λ, μ, and ν within the rhombus.
The prompt above was compiled from the original drawing commands and is for reference only.