
Arc Length to Surface of Revolution
Loading the math board and drawing, please wait…
In collections
GeoGebra 3D & AR: PreCalc & Calculus Resources
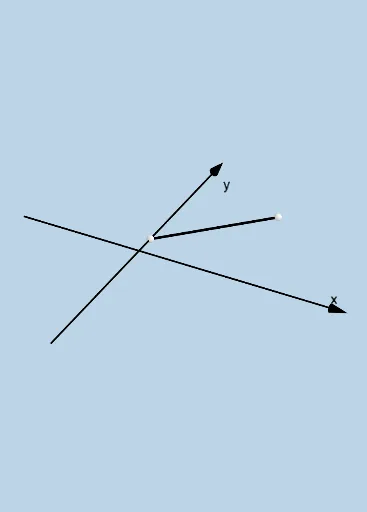
This example dynamically illustrates how a surface of revolution is generated from arc length. Core mathematical concepts include definite integrals and calculus. Using GeoGebra commands like Sequence, Union, and Textfield, users can adjust parameters to observe changes. Suitable for high school and above students to learn the principles of surface of revolution generation.
GeoGebra Commands & Parameters
Sequence((a + (i * (b - a) / n), 0), i, 0, n, 1) → L_1Sequence(x(Element[L_1, i]), i, 1, n + 1, 1) → xListSequence((Element[xList, i + 1], f(Element[xList, i + 1])), i, 0, n - 1, 1) → L_4Union(L_4, L_3) → L_5Sequence(Segment[Element[L_5, i], Element[L_5, i + 1]], i, 1, n, 1) → L_6Sequence(y(Element[L_5, i]), i, 1, n + 1, 1) → yListSequence(Element[yList, i + 1] - Element[yList, i], i, 1, n, 1) → deltaysSequence(CurveCartesian[Element[xList, i] + (t * deltax), Element[yList, i] + (t * Element[deltays, i]), t, 0, 1], i, 1, n, 1) → L_2Sequence(Surface[Element[L_2, i], ang, xAxis], i, 1, n + 1, 1) → L_7Textfield(f) → InputBox1Textfield(a) → InputBox2Textfield(b) → InputBox3Textfield(n) → InputBox4
AI Drawing Prompt Reference
Create a surface of revolution generated from arc length. First, define an interval [a, b] and divide it into n parts. Then, generate corresponding y-values for each point in the interval and calculate the differences between adjacent y-values. Next, use these points and differences to create a series of curves, and finally rotate these curves around the x-axis to form the surface of revolution.
The prompt above was compiled from the original drawing commands and is for reference only.