
对称变换与向量
几何画板及绘图内容加载中,请稍等……
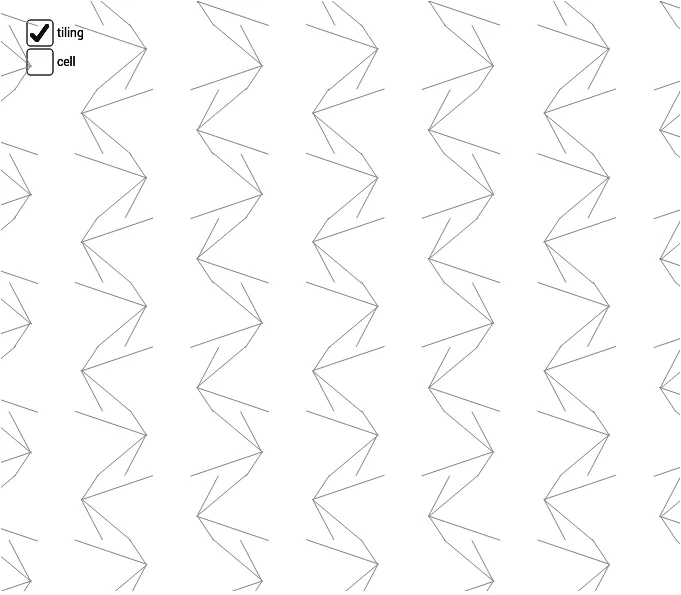
该范例演示了对称变换与向量的基本概念。通过使用GeoGebra命令如Mirror、Translate等,可以直观地展示向量的加减法以及对称变换的效果。适合初中及以上学生学习几何变换与向量运算。
GeoGebra 命令及参数
Segment(K, N) → hSegment(K, M) → gSegment(K, L) → fSegment(J, K) → eMidpoint(C, A) → HPoint(xAxis) → BMidpoint(C, B) → IVector(C, I) → tVector(B, I) → wMidpoint(D, C) → GMidpoint(B, D) → FSegment(H, F) → bMirror(cell1, b) → cell3Translate(cell3, t) → cell3aMidpoint(A, B) → ESegment(E, G) → cMirror(cell1, c) → cell2Translate(cell2, w) → cell2aMirror(cell2, b) → cell4Vector(A, B) → uVector(A, C) → vVector(C, D) → w_1Vector(B, D) → aSequence(Translate[Sequence[Translate[tile, Vector[(n * u)]], n, -3, 3], Vector[(m * v)]], m, -3, 3) → tilingSegment(H, I) → rSegment(E, I) → sLineBisector(C, G) → kLineBisector(G, D) → lLineBisector(C, H) → mLineBisector(H, A) → n
AI 绘图提示语参考
绘制一个包含向量和对称变换的几何图形。首先画出向量u、v和w_1,然后画出点A、B、C、D和K,接着画出线段g、h、f、e、b、c、r和s,使用对称变换和向量平移画出图形的镜像和移动版本,最后画出线段k、l、m和n,展示几何变换的效果。
以上提示语为根据原始绘图命令整理而来,仅供参考。