
Tape Roll 3D Modeling
Loading the math board and drawing, please wait…
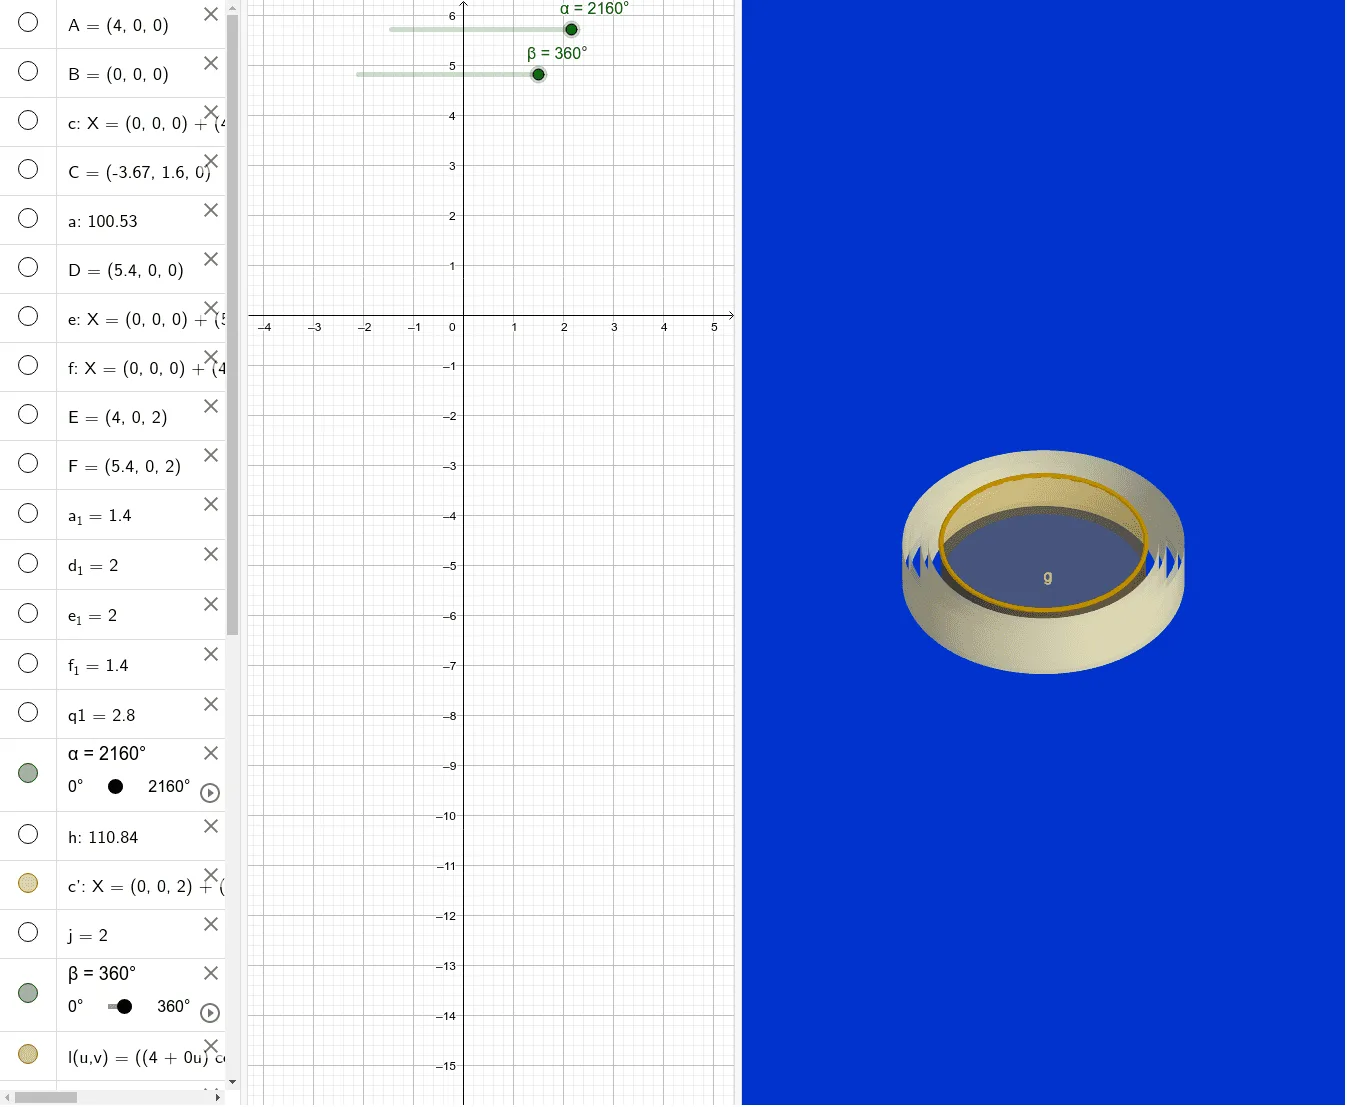
This example demonstrates the 3D modeling of a tape roll. Key mathematical concepts include the properties of cylinders and circles. Using GeoGebra commands such as Circle, Point, Cylinder, Polygon, etc., a 3D model of the tape roll can be constructed. Suitable for middle school and above students or teachers for teaching geometric construction and solid geometry.
GeoGebra Commands & Parameters
Circle(zAxis, A) → cPoint(c) → CCylinder(c, 2) → a, d, bCircle(B, 5.4, zAxis) → eCircle(B, 4.2, zAxis) → fPolygon(E, A, D, F) → q1, e_1, a_1, d_1, f_1Cylinder(f, 2) → h, k, iMirror(c, z = 1) → c'Segment(E, A) → jSurface(j, β, zAxis) → lSegment(H, G) → mSurface(m, α - 360°, zAxis) → nSegment(J, I) → pSurface(p, α - 720°, zAxis) → oSegment(L, K) → qSurface(q, α - 1080°, zAxis) → rSegment(N, M) → sSurface(s, α - 1440°, zAxis) → g
AI Drawing Prompt Reference
Create a 3D tape roll model. Start by drawing a circle as the cross-section of the tape roll, then draw two circles around it to represent the outer and inner circles of the tape. Use these circles as bases to draw two cylinders for the outer and inner layers of the tape. Utilize mirroring and translation to further build the 3D structure of the tape roll, and finally complete the 3D model with polygons and surfaces.
The prompt above was compiled from the original drawing commands and is for reference only.