
Rotation Tessellation Step 8
Loading the math board and drawing, please wait…
In collections
Rotation Tessellation
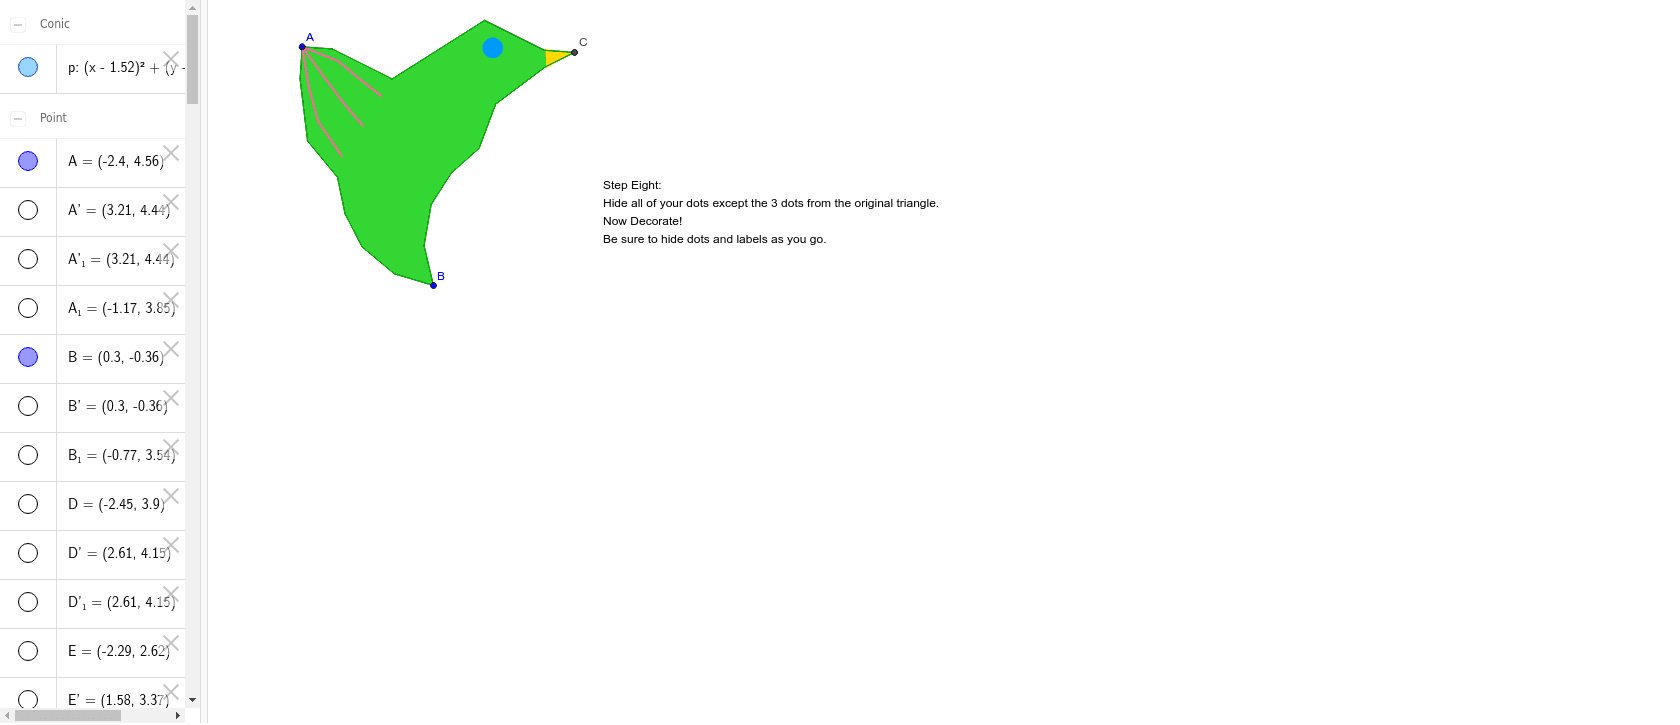
This example demonstrates the construction of a rotation tessellation through geometric rotations. Core math concepts include rotation, terms, ratios, multiplication, logarithmic functions, and angles. It uses GeoGebra commands like Polygon, Segment, Rotate, Midpoint, and Circle. Suitable for high school mathematics teaching and geometric construction learning.
GeoGebra Commands & Parameters
Polygon(A, B, 3) → poly1, a, b, c, CSegment(A, D) → dSegment(D, E) → eSegment(E, F) → fSegment(F, G) → gSegment(G, H) → hSegment(H, I) → iSegment(I, B) → jRotate(A, 300*°, B) → A'Rotate(D, 300*°, B) → D'Segment(A', D') → d'Rotate(D, 300*°, B) → D'_1Rotate(E, 300*°, B) → E'Segment(D'_1, E') → e'Rotate(E, 300*°, B) → E'_1Rotate(F, 300*°, B) → F'Segment(E'_1, F') → f'Rotate(F, 300*°, B) → F'_1Rotate(G, 300*°, B) → G'Segment(F'_1, G') → g'Rotate(G, 300*°, B) → G'_1Rotate(H, 300*°, B) → H'Segment(G'_1, H') → h'Rotate(H, 300*°, B) → H'_1Rotate(I, 300*°, B) → I'Segment(H'_1, I') → i'Rotate(I, 300*°, B) → I'_1Rotate(B, 300*°, B) → B'Segment(I'_1, B') → j'Midpoint(A, C) → JSegment(A, K) → kSegment(K, L) → lSegment(L, J) → mRotate(A, 180*°, J) → A'_1Rotate(K, 180*°, J) → K'Segment(A'_1, K') → k'Rotate(K, 180*°, J) → K'_1Rotate(L, 180*°, J) → L'Segment(K'_1, L') → l'Rotate(L, 180*°, J) → L'_1Rotate(J, 180*°, J) → J'Segment(L'_1, J') → m'Polygon(A, D, G', F'_1, E', D', C, K'_1, L', L, K, E, F, G, H, I, B, I'_1, H') → poly2, a_1, h'_1, g'_1, f'_1, e'_1, d'_1, c_1, k'_1, l'_1, l_1, k_1, d_1, e_1, f_1, g_1, h_1, i_1, b_1, i'_1Polygon(M, N, O) → poly3, o, m_1, nCircle(P, Q) → pSegment(A, R) → qSegment(R, S) → rSegment(S, T) → sSegment(A, U) → tSegment(U, V) → j_1Segment(V, W) → n_1Segment(A, Z) → p_1Segment(Z, A_1) → q_1Segment(A_1, B_1) → r_1
AI Drawing Prompt Reference
Draw a rotation tessellation by starting with a triangle and connecting its vertices to form a hexagon. Rotate the hexagon 300 degrees around one of its vertices to create a new hexagon. Repeat the rotation to form multiple overlapping hexagons. Finally, rotate parts of the figure 180 degrees around the midpoint of the triangle to complete the pattern.
The prompt above was compiled from the original drawing commands and is for reference only.