
Rhombus Construction on Cube Surface
Loading the math board and drawing, please wait…
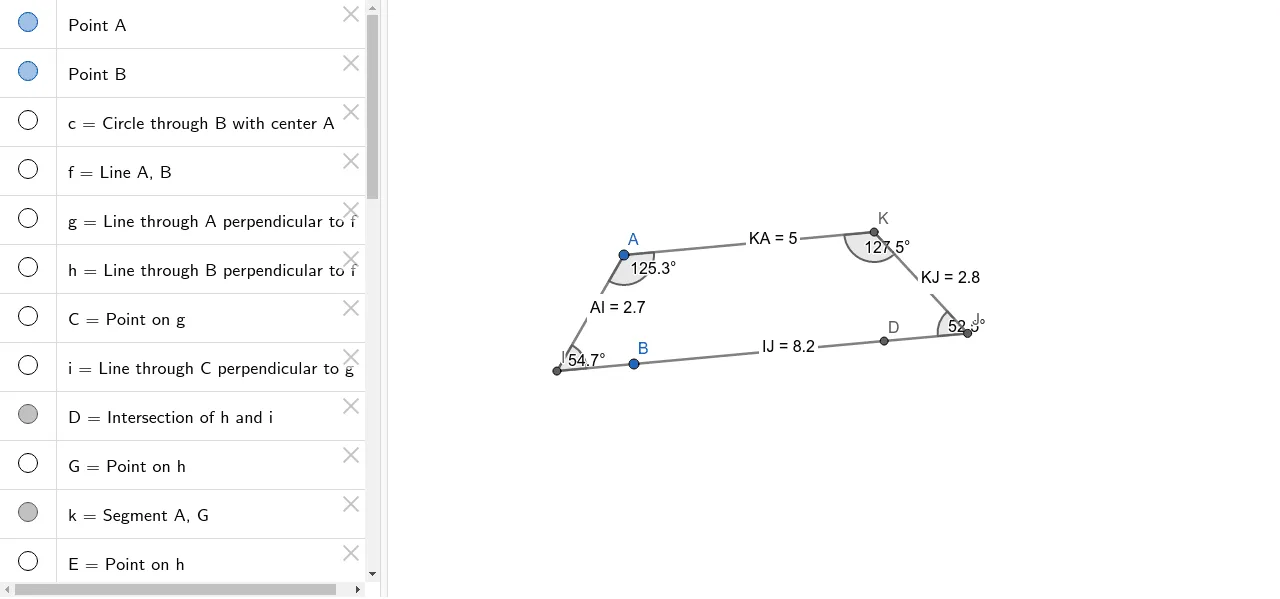
This example demonstrates how to construct a rhombus and its application on the surface of a cube using GeoGebra. Key math concepts include the properties of a rhombus, surface construction in solid geometry, and the geometric meaning of quadratic equations. Construction highlights involve commands/objects like Circle, Line, OrthogonalLine, Point, Intersect, Segment, Angle, Distance, and Midpoint. Suitable for high school mathematics teaching, focusing on the integration of polygons, solid geometry, and analytical geometry.
GeoGebra Commands & Parameters
Circle(A, B) → cLine(A, B) → fOrthogonalLine(A, f) → gOrthogonalLine(B, f) → hPoint(g) → COrthogonalLine(C, g) → iIntersect(h, i) → DPoint(h) → GSegment(A, G) → kPoint(h) → ESegment(C, E) → jPoint(k) → FSegment(F, B) → lSegment(A, C) → mPoint(j) → HSegment(D, H) → nSegment(D, B) → pIntersect(k, l) → IIntersect(j, n) → JIntersect(j, m) → KAngle(A, I, B) → αAngle(I, A, K) → βAngle(K, J, D) → γAngle(A, K, J) → δDistance(I, J) → distanceIJMidpoint(I, J) →Distance(K, J) → distanceKJMidpoint(K, J) →Distance(K, A) → distanceKAMidpoint(K, A) →Distance(A, I) → distanceAIMidpoint(A, I) →
AI Drawing Prompt Reference
Draw a cube in 3D spacehol and construct a rhombus on one of its faces. Start with a circle whose diameter is an edge of that face, and draw perpendicular lines through the two endpoints of that edge. Pick a point on one perpendicular as a vertex of the rhombus, then draw a line through that point perpendicular to the first perpendicular, intersecting the other perpendicular to get another vertex. Choose points on the perpendiculars and connect them to form the rhombus sides and diagonals. Pick points on the rhombus sides, connect them to create internal segments, and mark their intersection points. Measure and label the relevant angles and segment lengths, and mark the midpoints of the segments.
The prompt above was compiled from the original drawing commands and is for reference only.