
Fractional Division
Loading the math board and drawing, please wait…
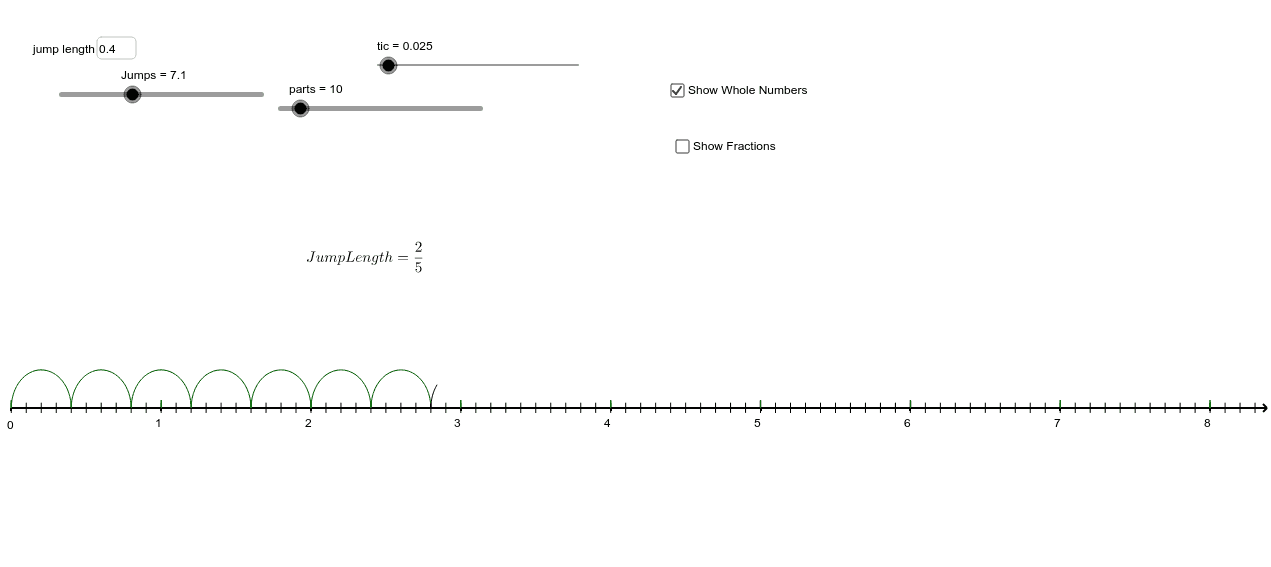
This example demonstrates the geometric representation and calculation process of fractional division. It involves core mathematical concepts such as fractional operations, trigonometric functions, geometric transformations, circumcircle, and geometric constructions. Key GeoGebra commands used in the construction include CircumcircleArc, Point, Vector, Textfield, Sequence, Jump, and CircleArc. It is suitable for high school mathematics teaching, helping students understand the geometric meaning and practical applications of fractional division.
GeoGebra Commands & Parameters
CircumcircleArc(A, C, B) → cPoint(c, 0.8) → DVector(D, B) → uTextfield(jumpLength) → inputBox1Sequence(Segment[(i, (-tic)), (i, tic)], i, 0, (10 * parts), 1 / parts) → list1Sequence(Segment[(i, 0), (i, (tic * 1.5))], i, 0, 12) → list2Sequence(Jump[((i * jumpLength), 0), jumpLength], i, 0, Jumps - 1, 1) → list3Textfield(jumpLength) → inputBox1_1Jump(((jumpLength * floor(Jumps)), 0), jumpLength) → LastJump_1, LastJump_2, LastJump_3, LastJump_4, LastJump_5Point(LastJump_1, acos(1 - (2 * fractionalPart(Jumps))) / π) → D_1CircleArc((x(LastJump_4), 0), D_1, ((floor(Jumps) * jumpLength), 0)) → FractionalArcSequence(Text[i, (i - hGridLength / 200, ((-vGridLength)) / 30, 0)], i, 1, 10, 1) → list4
AI Drawing Prompt Reference
Draw a geometric diagram illustrating fractional division. Start with a circular arc defined by three points, and place a point on the arc. From this point, draw a vector to another endpoint. Along the horizontal axis, create a series of evenly spaced tick marks, with shorter vertical marks above. Then, using an adjustable jump length, generate a sequence of equal-length jumps along the axis, and determine the final landing point. At this point, based on the fractional part of the jump count, compute an angle and draw an arc representing the remainder. Finally, label the numbers 1 through 10 below the axis.
The prompt above was compiled from the original drawing commands and is for reference only.