
Construction of a Rhombus by elijones1
Loading the math board and drawing, please wait…
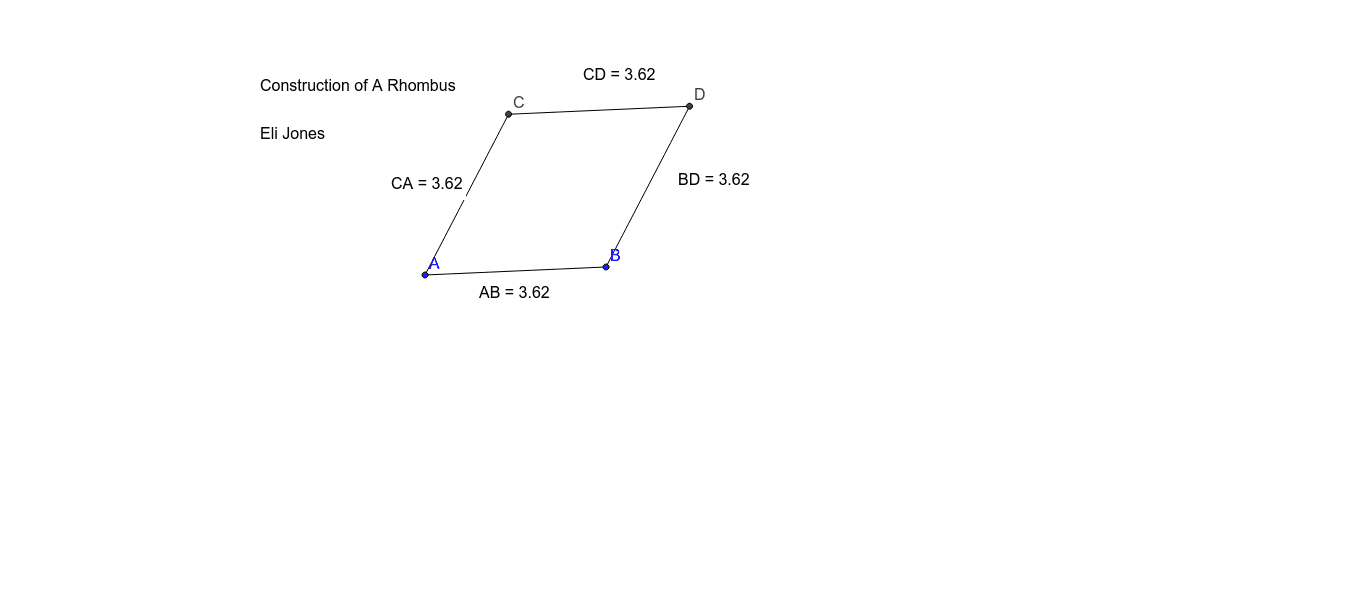
This example demonstrates how to construct a rhombus using basic geometric elements such as circles, intersections, and segments. The core mathematical concept is the definition of a rhombus—a parallelogram with all four sides equal—and its property that diagonals bisect each other at right angles. The construction uses the Circle command to draw circles centered at given points, the Intersect command to find their intersection points, the Segment command to connect vertices, and the Distance command to measure side lengths and display text confirming equality. This is suitable for middle school geometry lessons, helping students understand rhombus properties and construction methods while familiarizing them with GeoGebra's basic tools.
GeoGebra Commands & Parameters
Circle(A, B) → cCircle(B, A) → dIntersect(c, d, 1) → CSegment(A, B) → aLine(C, a) → bIntersect(d, b, 2) → DSegment(A, C) → eSegment(B, D) → fSegment(C, D) → gDistance(C, D) → distanceCDMidpoint(C, D) →Distance(A, B) → distanceABMidpoint(A, B) →Distance(C, A) → distanceCAMidpoint(C, A) →Distance(B, D) → distanceBDMidpoint(B, D) →
AI Drawing Prompt Reference
Draw a rhombus. First, draw two points A and B. Then, draw two circles centered at A and B. Find the intersection point C of these circles. Connect A to B, and connect C to the endpoints of the line segment. Connect A to C, and B to D. Connect C to D. Measure the distance between C and D, and confirm that all sides are equal. Ensure that the diagonals are perpendicular and bisect each other.
The prompt above was compiled from the original drawing commands and is for reference only.