
Constructing a Rhombus by Ibrahim El Hage
Loading the math board and drawing, please wait…
In collections
Quadrilaterals الرُباعيات
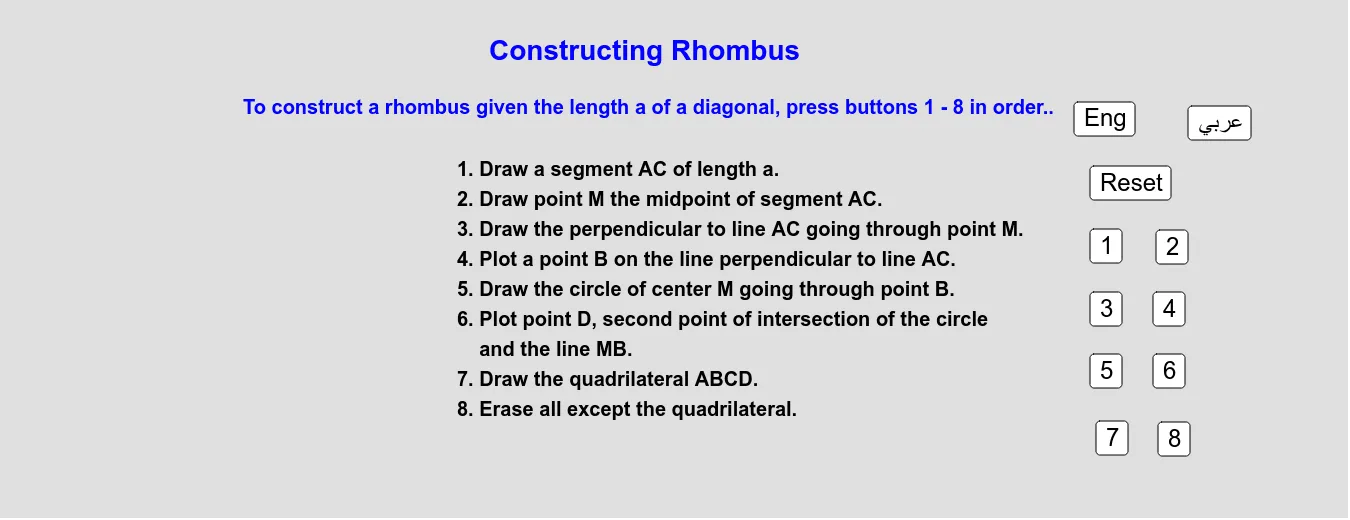
This example demonstrates how to construct a rhombus using GeoGebra. Key mathematical concepts include geometric construction and transformation. Using commands such as Segment, Midpoint, Translate, Rotate, CircleArc, and Intersect, a rhombus can be constructed step-by-step. Suitable for middle school and above students to learn geometric construction and transformation.
GeoGebra Commands & Parameters
Segment(A, C) → fMidpoint(f) → MTranslate(Q, Vector[(p * Vector[Q, P])]) → Q'Segment(Q, Q') → gPoint(g) → BRotate(B, ((q * 360))°, M) → B'CircleArc(M, B, B') → hIntersect(h, g) → D_1, DTranslate(A, Vector[(a * Vector[A, B])]) → A1Segment(A, A1) → iTranslate(B, Vector[(b * Vector[B, C])]) → B1Segment(B, B1) → jTranslate(C, Vector[(c * Vector[C, D])]) → C1Segment(C, C1) → kTranslate(D, Vector[(d * Vector[D, A])]) → D1Segment(D, D1) → l
AI Drawing Prompt Reference
Draw a rhombus by first creating one side and finding its midpoint. Rotate this side around the midpoint to form two more sides of the rhombus. Then, using the midpoints of the rotated sides and the original side, draw a circular arc to find intersection points with the sides. Finally, connect these points and use translation to complete the rhombus.
The prompt above was compiled from the original drawing commands and is for reference only.