
Cavalieri's Principle in 2D - Rectangle
Loading the math board and drawing, please wait…
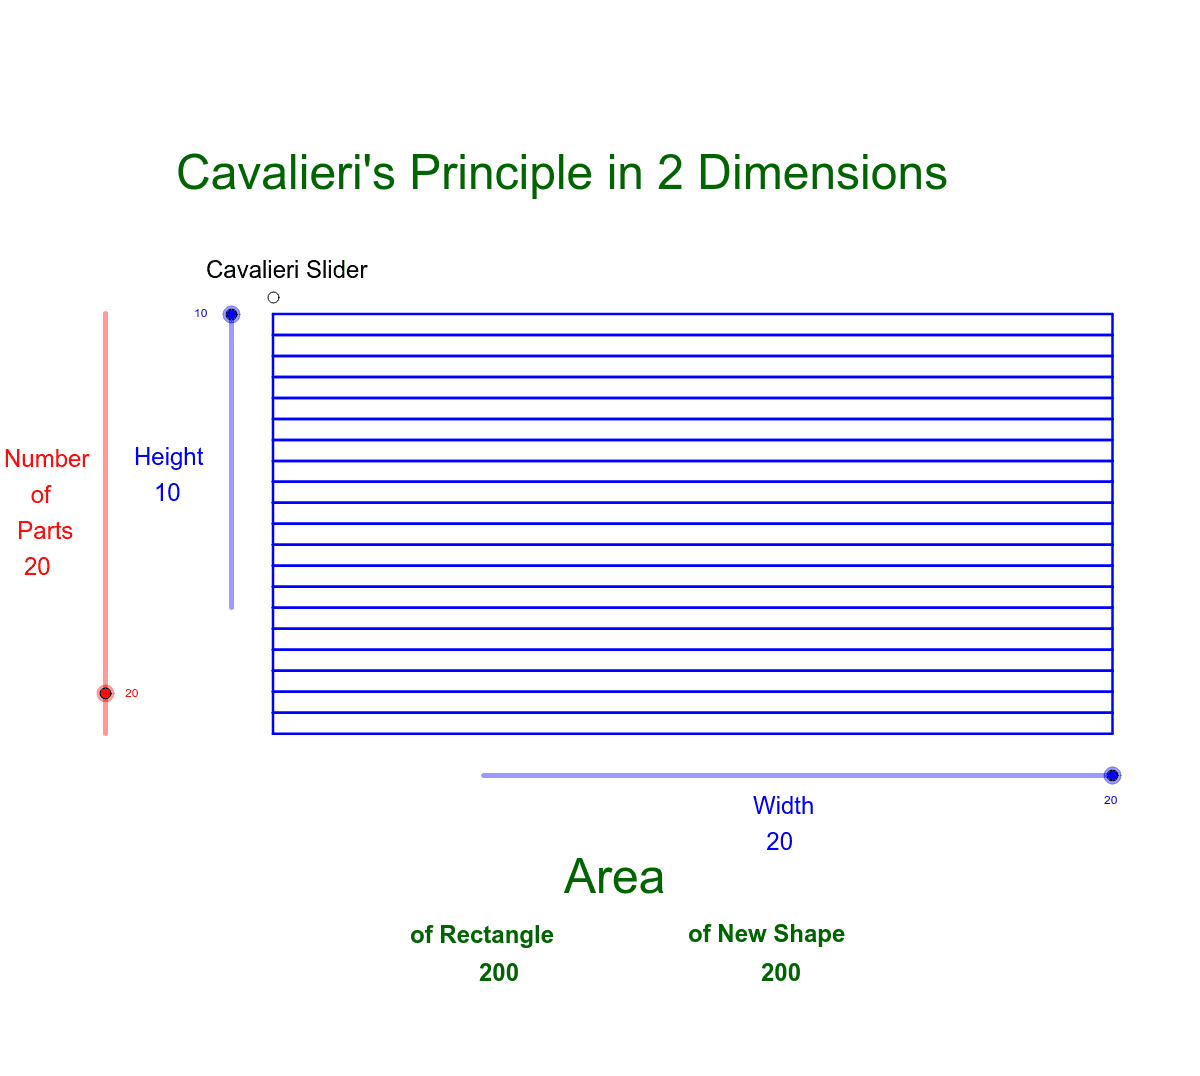
This example demonstrates how Cavalieri's principle works in 2D using a rectangle. Cavalieri's principle is a fundamental concept in geometry used to compare the areas of two shapes. By adjusting the height and width of the rectangle, the example shows how to maintain equal areas. The construction uses commands such as point, sequence, and segment in GeoGebra. Suitable for middle school and above students to learn geometric principles.
GeoGebra Commands & Parameters
Point({0, Height / Parts}) → CSequence(C + ((Slide * i / (Parts - 1)), (Height * i / Parts)), i, 1, Parts - 1) → HorizontalPoint({0, 0}) → ASegment(A, B) → ABSegment(C, D) → CDZip(Segment[B, B + (Width, 0)], B, Horizontal) → HSegsZip(Segment[B + (0, ((-Height)) / Parts), B + (Width, ((-Height)) / Parts)], B, Horizontal) → HSegslZip(Segment[B, B - (0, Height / Parts)], B, Horizontal) → VSegsSegment(A, C) → ACSegment(B, D) → BDZip(Segment[B + (Width, 0), B + (Width, ((-Height)) / Parts)], B, Horizontal) → VSegsr
AI Drawing Prompt Reference
Draw a rectangle and adjust its height and width to keep the area constant. Start by setting a sliding point C on the y-axis, then generate a series of horizontal segments to form the top boundary of the rectangle. Next, draw the left boundary AC and the right boundary BD. Finally, use horizontal segments to create the vertical boundaries of the rectangle, ensuring that each part has the same area.
The prompt above was compiled from the original drawing commands and is for reference only.