
滑动第4页
几何画板及绘图内容加载中,请稍等……
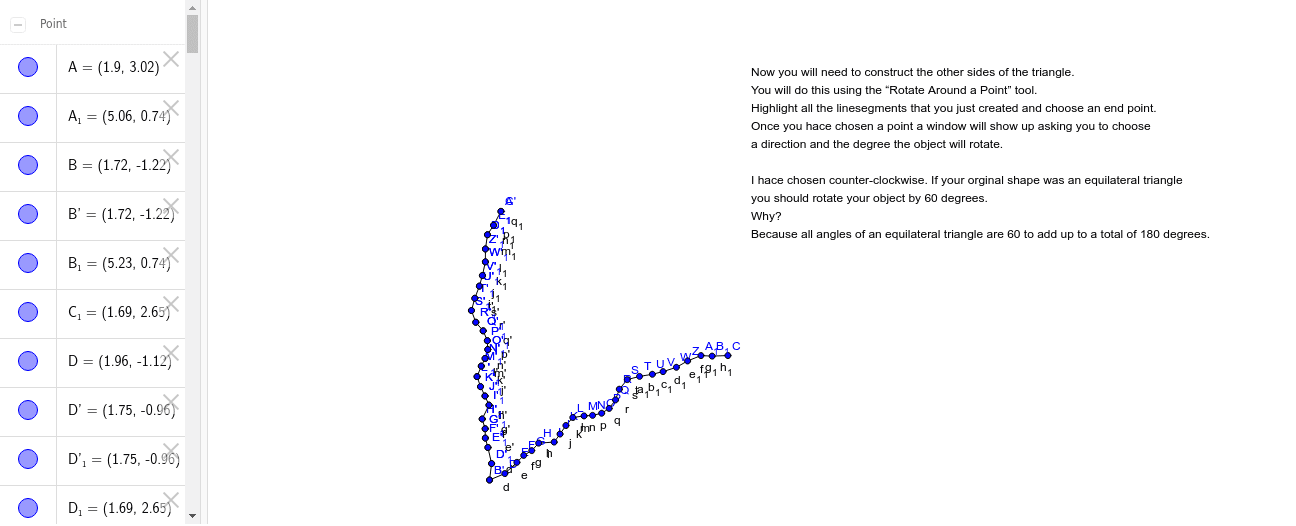
这个范例演示了如何使用GeoGebra绘制向量和多边形。它涉及的核心数学概念包括向量和多边形的构造。通过使用Polygon, Segment, Rotate等命令,可以创建动态的几何图形。适合用于中学阶段的几何教学。
GeoGebra 命令及参数
Polygon(A, B, 3) → poly1, a, b, c, CSegment(B, D) → dSegment(D, E) → eSegment(E, F) → fSegment(F, G) → gSegment(G, H) → hSegment(H, I) → iSegment(I, J) → jSegment(J, K) → kSegment(K, L) → lSegment(L, M) → mSegment(M, N) → nSegment(N, O) → pSegment(O, P) → qSegment(P, Q) → rSegment(Q, R) → sSegment(R, S) → tSegment(S, T) → a_1Segment(T, U) → b_1Segment(U, V) → c_1Segment(V, W) → d_1Segment(W, Z) → e_1Segment(Z, A_1) → f_1Segment(A_1, B_1) → g_1Segment(B_1, C) → h_1Rotate(B, 60*°, B) → B'Rotate(D, 60*°, B) → D'Segment(B', D') → d'Rotate(D, 60*°, B) → D'_1Rotate(E, 60*°, B) → E'Segment(D'_1, E') → e'Rotate(E, 60*°, B) → E'_1Rotate(F, 60*°, B) → F'Segment(E'_1, F') → f'Rotate(F, 60*°, B) → F'_1Rotate(G, 60*°, B) → G'Segment(F'_1, G') → g'Rotate(G, 60*°, B) → G'_1Rotate(H, 60*°, B) → H'Segment(G'_1, H') → h'Rotate(H, 60*°, B) → H'_1Rotate(I, 60*°, B) → I'Segment(H'_1, I') → i'Rotate(I, 60*°, B) → I'_1Rotate(J, 60*°, B) → J'Segment(I'_1, J') → j'Rotate(J, 60*°, B) → J'_1Rotate(K, 60*°, B) → K'Segment(J'_1, K') → k'Rotate(K, 60*°, B) → K'_1Rotate(L, 60*°, B) → L'Segment(K'_1, L') → l'Rotate(L, 60*°, B) → L'_1Rotate(M, 60*°, B) → M'Segment(L'_1, M') → m'Rotate(M, 60*°, B) → M'_1Rotate(N, 60*°, B) → N'Segment(M'_1, N') → n'Rotate(N, 60*°, B) → N'_1Rotate(O, 60*°, B) → O'Segment(N'_1, O') → p'Rotate(O, 60*°, B) → O'_1Rotate(P, 60*°, B) → P'Segment(O'_1, P') → q'Rotate(P, 60*°, B) → P'_1Rotate(Q, 60*°, B) → Q'Segment(P'_1, Q') → r'Rotate(Q, 60*°, B) → Q'_1Rotate(R, 60*°, B) → R'Segment(Q'_1, R') → s'Rotate(R, 60*°, B) → R'_1Rotate(S, 60*°, B) → S'Segment(R'_1, S') → t'Rotate(S, 60*°, B) → S'_1Rotate(T, 60*°, B) → T'Segment(S'_1, T') → i_1Rotate(T, 60*°, B) → T'_1Rotate(U, 60*°, B) → U'Segment(T'_1, U') → j_1Rotate(U, 60*°, B) → U'_1Rotate(V, 60*°, B) → V'Segment(U'_1, V') → k_1Rotate(V, 60*°, B) → V'_1Rotate(W, 60*°, B) → W'Segment(V'_1, W') → l_1Rotate(W, 60*°, B) → W'_1Rotate(Z, 60*°, B) → Z'Segment(W'_1, Z') → m_1Rotate(Z, 60*°, B) → Z'_1Rotate(A_1, 60*°, B) → C_1Segment(Z'_1, C_1) → n_1Rotate(A_1, 60*°, B) → D_1Rotate(B_1, 60*°, B) → E_1Segment(D_1, E_1) → p_1Rotate(B_1, 60*°, B) → F_1Rotate(C, 60*°, B) → C'Segment(F_1, C') → q_1
AI 绘图提示语参考
绘制一个由12个顶点构成的多边形,每个顶点通过旋转60度的方式生成。首先绘制一个六边形,然后围绕一个固定点旋转每个顶点60度,生成新的顶点,连接这些新顶点形成另一个六边形,重复此过程直到所有顶点生成并连接。
以上提示语为根据原始绘图命令整理而来,仅供参考。