
坐标平面上的旋转探索(仅90度间隔)
几何画板及绘图内容加载中,请稍等……
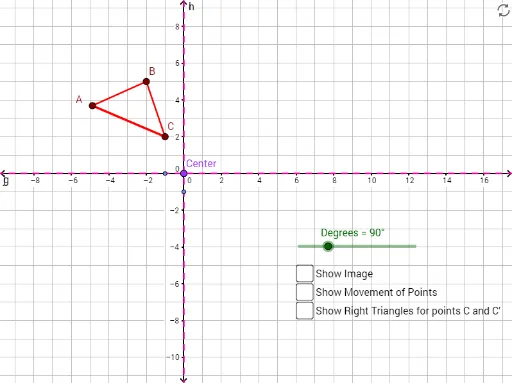
本范例演示了如何在坐标平面上进行旋转操作。通过旋转三角形或多边形,可以直观理解旋转变换的性质。涉及的核心数学概念包括旋转、坐标几何和几何变换。作图要点使用了GeoGebra的Polygon、Rotate、CircleArc和Line等命令来创建和旋转图形。适合初中及以上学生学习几何变换和坐标几何知识。
GeoGebra 命令及参数
Polygon(A, B, C) → poly1, c, a, bRotate(A, Degrees, Center) → A'Rotate(B, Degrees, Center) → B'Rotate(C, Degrees, Center) → C'Polygon(A', B', C') → poly1', c', a', b'CircleArc(Center, C, C') → dCircleArc(Center, B, B') → eCircleArc(Center, A, A') → fLine(D, E) → gLine(F, G) → hLine(F, G) → iLine(E, D) → jLine(Center, j) → kLine(Center, i) → lPolygon(Center, H, C) → poly2, c_1, center, h_1Rotate(Center, Degrees, Center) → Center'Rotate(H, Degrees, Center) → H'Rotate(C, Degrees, Center) → C'_1Polygon(Center', H', C'_1) → poly2', c'_1, center', h'
AI 绘图提示语参考
在坐标系中绘制一个三角形,并演示其绕原点顺时针旋转90度的过程。首先画出原始三角形,然后用圆弧标示出旋转路径,接着画出旋转后的三角形。最后,用直线连接关键点,形成旋转前后的辅助线,展示旋转的几何特性。
以上提示语为根据原始绘图命令整理而来,仅供参考。