
Special Properties of a Rhombus
Loading the math board and drawing, please wait…
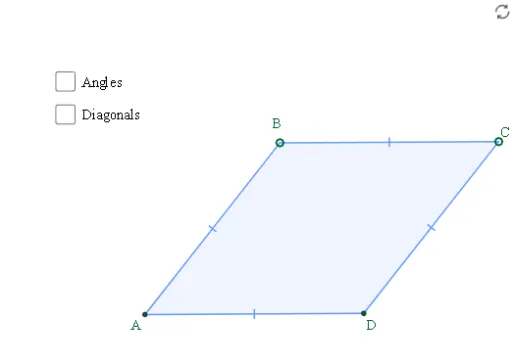
This interactive example investigates the properties of a rhombus. It involves important geometric concepts such as angles, symmetry, and polygons. Using GeoGebra commands like Segment, Midpoint, Polygon, etc., it provides a visual demonstration of the rhombus's characteristics. Suitable for middle school and above students or teachers.
GeoGebra Commands & Parameters
Segment(A, C) → aMidpoint(a) → XOrthogonalLine(X, a) → bPoint(b) → BMirror(B, a) → DPolygon(A, B, C, D) → poly1, a_1, d, b_1, d'Segment(A, X) → cSegment(X, C) → eSegment(B, X) → fSegment(X, D) → gAngle(A, B, C) → αAngle(B, C, D) → βAngle(C, D, A) → γAngle(D, A, B) → δAngle(A, X, D) → εAngle(A, B, X) → ζAngle(X, B, C) → ηAngle(B, C, X) → θAngle(X, C, D) → ιAngle(C, D, X) → κAngle(X, D, A) → λAngle(D, A, X) → μAngle(X, A, B) → ν
AI Drawing Prompt Reference
Draw a rhombus with four vertices A, B, C, and D, and the midpoint X of its diagonals. First, draw segment AC, then find its midpoint X, next draw a line b perpendicular to AC through X, then take point B on b, mirror B about AC to get point D, and finally connect A, B, C, and D to form the rhombus. Measure and display the four angles α, β, γ, δ of the rhombus and their angle bisectors ε, ζ, η, θ, ι, κ, λ, μ, ν.
The prompt above was compiled from the original drawing commands and is for reference only.