
Slippery Surface 08
Loading the math board and drawing, please wait…
In collections
Slippery surface
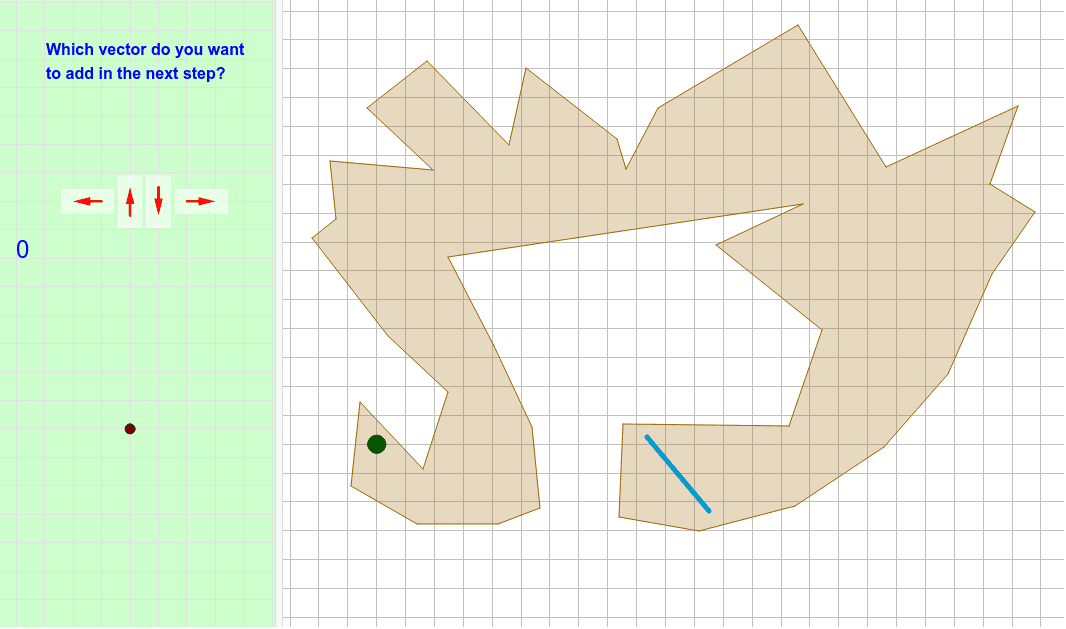
This example demonstrates the geometric construction of a slippery surface. Key mathematical concepts include polygons, circles, vectors, and loci. Using GeoGebra commands such as Polygon, Segment, Intersect, and Vector, the geometric model of the slippery surface can be constructed. Suitable for high school geometry education and learning.
GeoGebra Commands & Parameters
Polygon(E, F, B, N, O, R, S, T, U, V, W, Z, G, A_1, B_1, C_1, D_1, E_1, F_1, G_1, H_1, I_1, J_1, H, K_1, L_1, M_1, N_1, O_1, P_1, Q_1, R_1, I, J, K, L, M, A) → camino, c, m, p, q, i_1, s_1, t_1, c_2, d_2, e_2, f_2, d, g_2, h_2, j_2, k_2, l_2, m_2, n_2, p_2, q_2, r_2, e, s_2, t_2, a_3, b_3, c_3, d_3, e_3, f_3, g_3, f, g, h, j, k, lSegment(Q, P) → segmentoIntersect(segmento, camino) → corte, corte_1, corte_2, corte_3, corte_4Segment(C, D) → llegadaIntersect(llegada, segmento) → corteganadorVector(ejemplo, ejemplopunta) → ejemplovectorPolyLine(listarastro) → rastroVector(controles + (1, 1), controles + (0, 1)) → izqVector(controles + (2, 0.5), controles + (2, 1.5)) → arrVector(controles + (3, 1.5), controles + (3, 0.5)) → abaVector(controles + (4, 1), controles + (5, 1)) → derVector(ejemplo, puntoexplicado) → vectorexplicado_1Vector(puntoexplicado, ejemplopunta) → vectorexplicado_2Vector(P, P + (i * (Q - P))) → segmentovisiblePolygon((0, 0), (0.8, 0), (0.8, 1.8), (0, 1.8)) → rectangulito, rectangulito_2, rectangulito_3, rectangulito_4, rectangulito_5Translate(Rotate[rectangulito, 90*°], controles + (5.4, 0.6)) → der_FTranslate(rectangulito, controles + (2.6, 0.1)) → aba_FTranslate(rectangulito, controles + (1.6, 0.1)) → arr_FTranslate(Rotate[rectangulito, 90*°], controles + (1.4, 0.6)) → izq_F
AI Drawing Prompt Reference
Draw a geometric model of a slippery surface composed of multiple polygons, circles, and vectors, demonstrating the construction process. Start by creating an irregular polygon as the base, then add several circles and vectors to indicate directions. Mark intersection points along the edges of the polygon and on the circles to form a path and key nodes. Finally, connect these points with vectors and add several rotated and translated rectangles to simulate different parts of the slippery surface.
The prompt above was compiled from the original drawing commands and is for reference only.