
Sine Ratio Trigonometry Demo
Loading the math board and drawing, please wait…
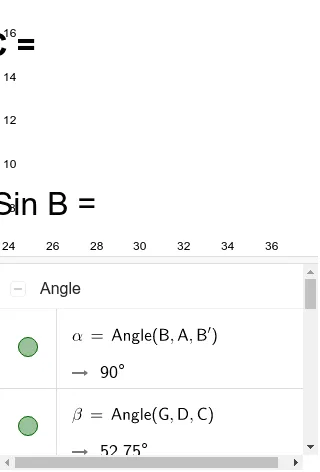
This example demonstrates the sine ratio in right triangles, visually showing the relationship between angles and the opposite/hypotenuse sides. Core math concepts include trigonometric functions, angle measurement, and properties of right triangles. Construction highlights the use of GeoGebra commands like Point, Segment, Rotate, Angle, Line to build the triangle and label key elements. Suitable for high school mathematics teaching to help students intuitively understand the definition and properties of the sine function.
GeoGebra Commands & Parameters
Point(Circle[A, 3]) → BSegment(A, B) → fPoint(Circle[A, 6]) → CSegment(A, C) → gPoint(Circle[A, 12]) → DSegment(A, D) → hRotate(B, 90°, A) → B'Angle(B, A, B') → αLine(A, B') → iPoint(Circle[A, 4]) → ESegment(A, E) → jPoint(Circle[A, 8]) → FSegment(A, F) → kPoint(Circle[A, 16]) → GSegment(A, G) → lSegment(E, B) → mSegment(F, C) → nSegment(G, D) → pAngle(G, D, C) → βAngle(F, C, B) → γAngle(E, B, A) → δ
AI Drawing Prompt Reference
Draw a right triangle with three vertices labeled. From each vertex, draw three line segments of lengths 4, 8, and 16. Using the first vertex as the center, draw three circles with radii 3, 6, and 12 to find three intersection points. Connect these points to the center to form three smaller right triangles. Label the angles and draw perpendicular lines from the third vertex to the hypotenuses of the smaller triangles to illustrate the sine ratio.
The prompt above was compiled from the original drawing commands and is for reference only.