
Rhombus Construction Demo by Samantha Cole
Loading the math board and drawing, please wait…
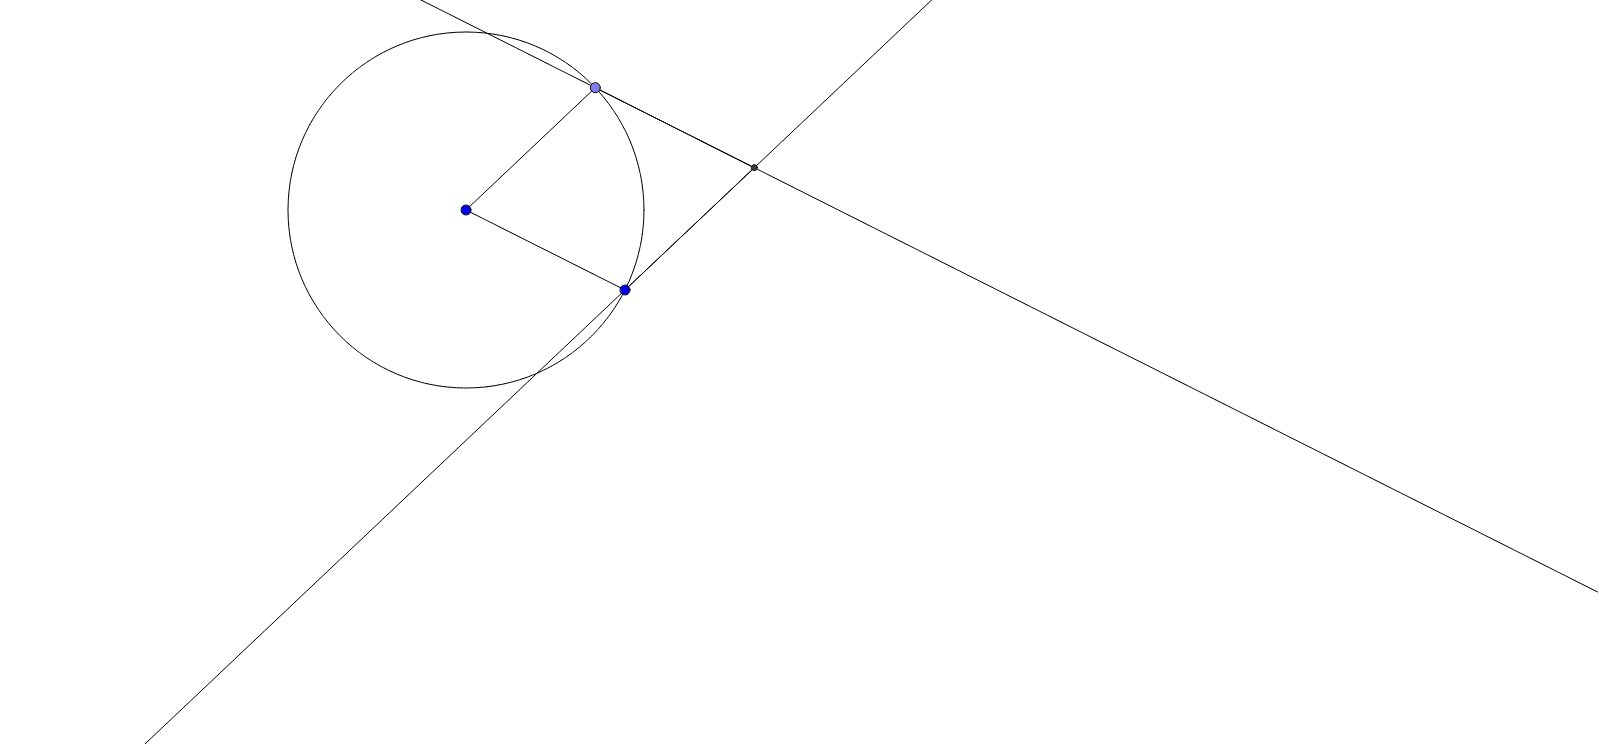
This example demonstrates how to construct a rhombus using basic geometric commands. It involves core math concepts like polygons, geometric construction, and symmetry. Key construction steps include using Segment, Circle, Point, Line, and Intersect commands in GeoGebra. Suitable for middle school students learning geometric constructions or for interpreting box plots in statistics.
GeoGebra Commands & Parameters
Segment(A, B) → aCircle(A, B) → cPoint(c) → CSegment(A, C) → bLine(C, a) → dLine(B, b) → eIntersect(d, e) → DSegment(C, D) → fSegment(B, D) → g
AI Drawing Prompt Reference
Draw a rhombus construction demo. Start with a horizontal segment as the base. Use the left endpoint as the center to draw a circle with radius equal to the base. Pick a point on the circle as the third vertex, and connect it to the left endpoint to form one side. Then draw a line through the third vertex parallel to the base, and another line through the right endpoint parallel to the first side. These two lines intersect at the fourth vertex. Finally, connect the third vertex to the fourth vertex, and the right endpoint to the fourth vertex, completing the rhombus.
The prompt above was compiled from the original drawing commands and is for reference only.