
Rhombus #2: Construction via Circle and Line Intersections
Loading the math board and drawing, please wait…
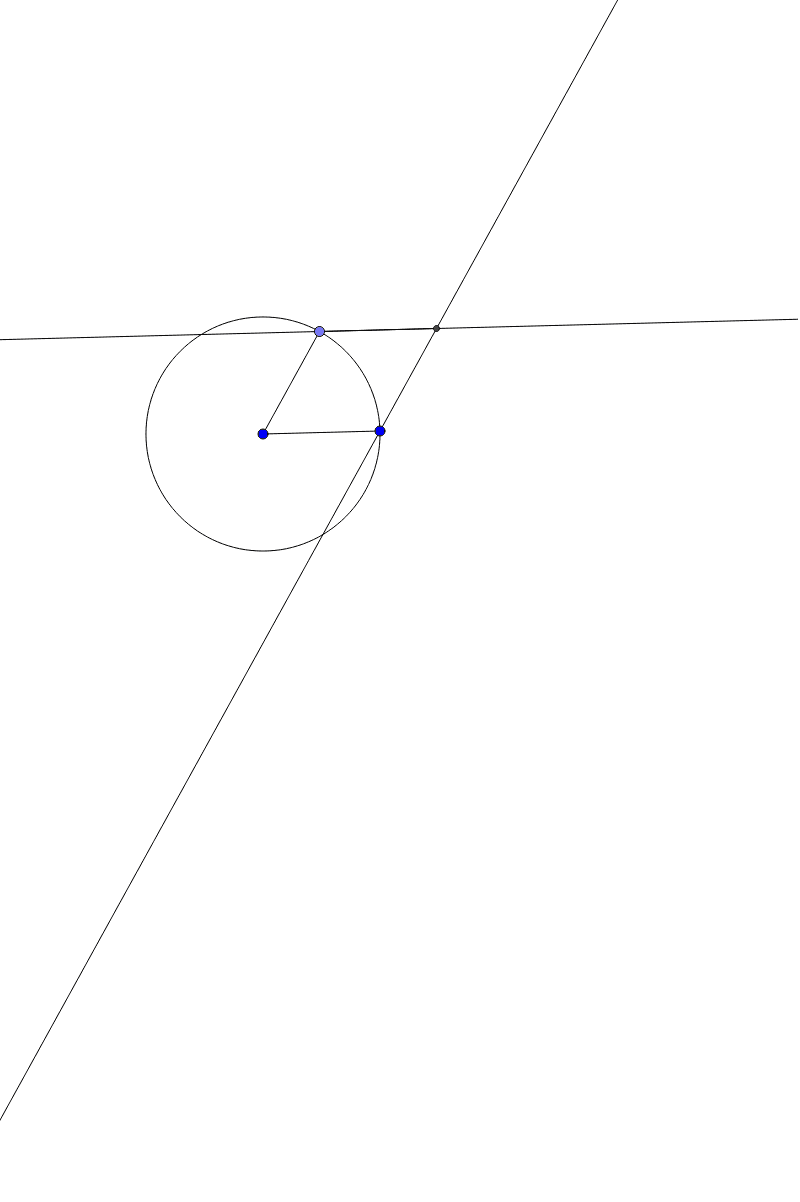
① This example demonstrates how to construct a rhombus using circles, segments, and their intersections, highlighting the equal side lengths and diagonal relationships. ② Core mathematical concepts include the definition of a rhombus (all sides equal), properties of circle radii, vertex determination via line-circle intersections, and the cosine rule for side length calculations. ③ Construction details: Based on the summary, GeoGebra commands such as Segment, Circle, Point, Line, and Intersect are used, creating points A, B, segment f, circle c, point C, lines g, h, i, point D, and segment j, with vertices determined by intersections. ④ Suitable for middle school geometry or high school introductory analytic geometry, useful for understanding rhombus properties and compass-straightedge construction, and as a dynamic demonstration resource.
GeoGebra Commands & Parameters
Segment(A, B) → fCircle(A, B) → cPoint(c) → CSegment(A, C) → gLine(B, g) → hLine(C, f) → iIntersect(i, h) → DSegment(C, D) → j
AI Drawing Prompt Reference
Start with a segment as one side of a rhombus. Draw a circle centered at one endpoint with radius equal to the segment length. Pick a point on the circle and connect it to the center to form the second side. Through the other endpoint, draw a line parallel to this second side, and through the circle point, draw a line parallel to the first side. These two parallel lines intersect at a point, which becomes the fourth vertex. Connect this vertex to the circle point to complete the rhombus. The figure should show the circle, two sides, two parallel construction lines, and the final rhombus with all sides equal and diagonals perpendicular bisecting each other.
The prompt above was compiled from the original drawing commands and is for reference only.