
Exploring Properties of a Parallelogram
Loading the math board and drawing, please wait…
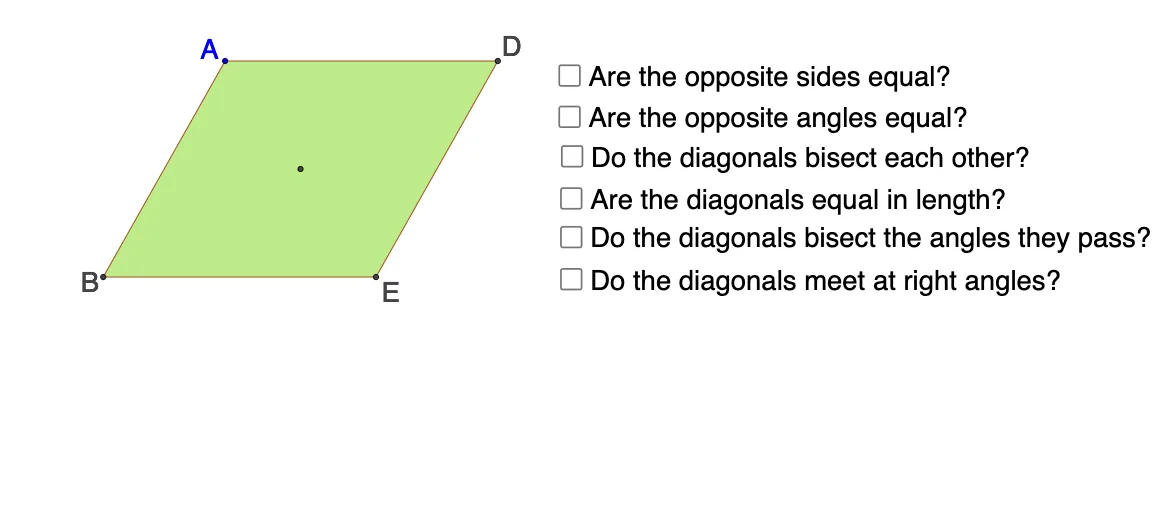
This example demonstrates the properties of a parallelogram using an interactive applet. Key mathematical concepts include parallel lines, equal opposite sides, equal opposite angles, and bisecting diagonals. GeoGebra commands like Intersect, Line, Point, Polygon, Segment, and Angle are used in the construction. Suitable for middle school and above students for geometry learning and property verification.
GeoGebra Commands & Parameters
Intersect(xAxis, yAxis) → BLine(B, A) → aLine(A, xAxis) → bLine(B, b) → cPoint(c) → CLine(C, a) → dIntersect(b, d) → DIntersect(c, d) → EPolygon(B, A, D, E) → poly1, b_1, a_1, d_1, eSegment(B, D) → fSegment(A, E) → gIntersect(f, g) → FSegment(B, F) → hSegment(F, D) → iSegment(E, F) → jSegment(F, A) → kAngle(E, F, D) → αAngle(D, F, A) → βAngle(A, F, B) → γAngle(B, F, E) → δAngle(D, E, B) → εAngle(B, A, D) → ζAngle(A, D, E) → ηAngle(E, B, A) → θAngle(E, B, F) → ιAngle(F, B, A) → κAngle(B, A, F) → λAngle(F, A, D) → μAngle(F, E, B) → νAngle(D, E, F) → ξAngle(F, D, E) → οAngle(A, D, F) → ρPolygon(A, D, E, B) → poly2, a_2, d_2, e_1, b_2Segment(A, E) → pSegment(B, D) → sSegment(A, E) → rSegment(B, D) → c_1
AI Drawing Prompt Reference
Draw a parallelogram starting from the origin on the coordinate axes. Place a point on the x-axis, then draw a line through it parallel to the x-axis, and intersect with a slanted line through the origin to form the other vertices. Connect the four vertices to form the parallelogram. Draw both diagonals and mark their intersection. From this intersection, draw segments to each vertex. Then label all relevant angles: the four angles at the intersection, the angles at each vertex, and the angles formed by the diagonals. Finally, draw the same quadrilateral again and repeat the diagonals to emphasize the properties.
The prompt above was compiled from the original drawing commands and is for reference only.