
Constructing and Exploring a Rhombus
Loading the math board and drawing, please wait…
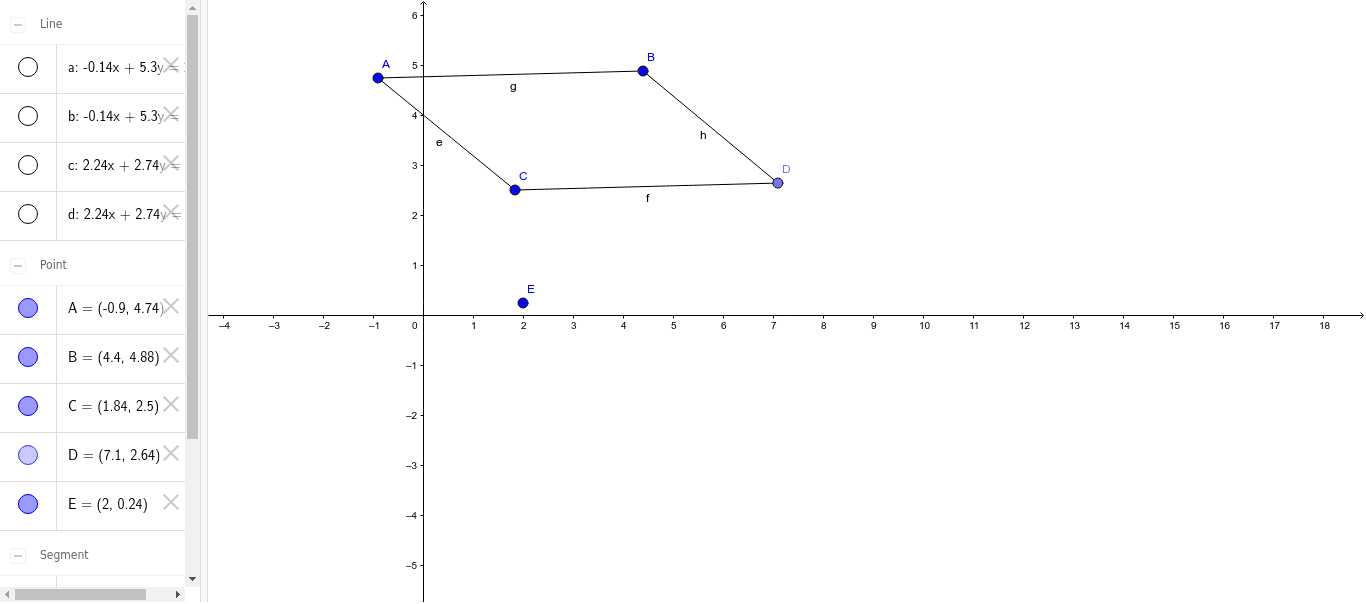
This GeoGebra example dynamically demonstrates the complete construction of a rhombus, visually highlighting its core properties such as equal side lengths and perpendicular bisecting diagonals. The key mathematical concepts involved include congruence, angle relationships, multiplication of segment lengths, and an introduction to secant lines. The construction uses GeoGebra commands Line, Point, and Segment, creating points A and B, line a, then points C and D, and segments b, c, d, along with auxiliary segments e, f, g, h to form the rhombus and label its elements. This example is suitable for middle school geometry classes to help students understand the definition and properties of a rhombus, as well as the logical steps of geometric construction. It can also serve as an introductory material for high school coordinate geometry verification of rhombus properties.
GeoGebra Commands & Parameters
Line(A, B) → aLine(C, a) → bLine(A, C) → cPoint(b) → DLine(D, c) → dSegment(A, C) → eSegment(C, D) → fSegment(A, B) → gSegment(B, D) → h
AI Drawing Prompt Reference
Draw a rhombus dynamically to show its complete construction, highlighting equal side lengths and perpendicular diagonals. Start by drawing a line segment and marking two points on it. Then draw two lines from these points that intersect the original segment, forming four vertices. Connect these vertices to form the rhombus and draw the diagonals, which intersect at right angles. Label the sides and angles of the rhombus and draw auxiliary segments to show the perpendicularity of the diagonals and the equality of the side lengths.
The prompt above was compiled from the original drawing commands and is for reference only.