
Understanding Sine with Similar Triangles
Loading the math board and drawing, please wait…
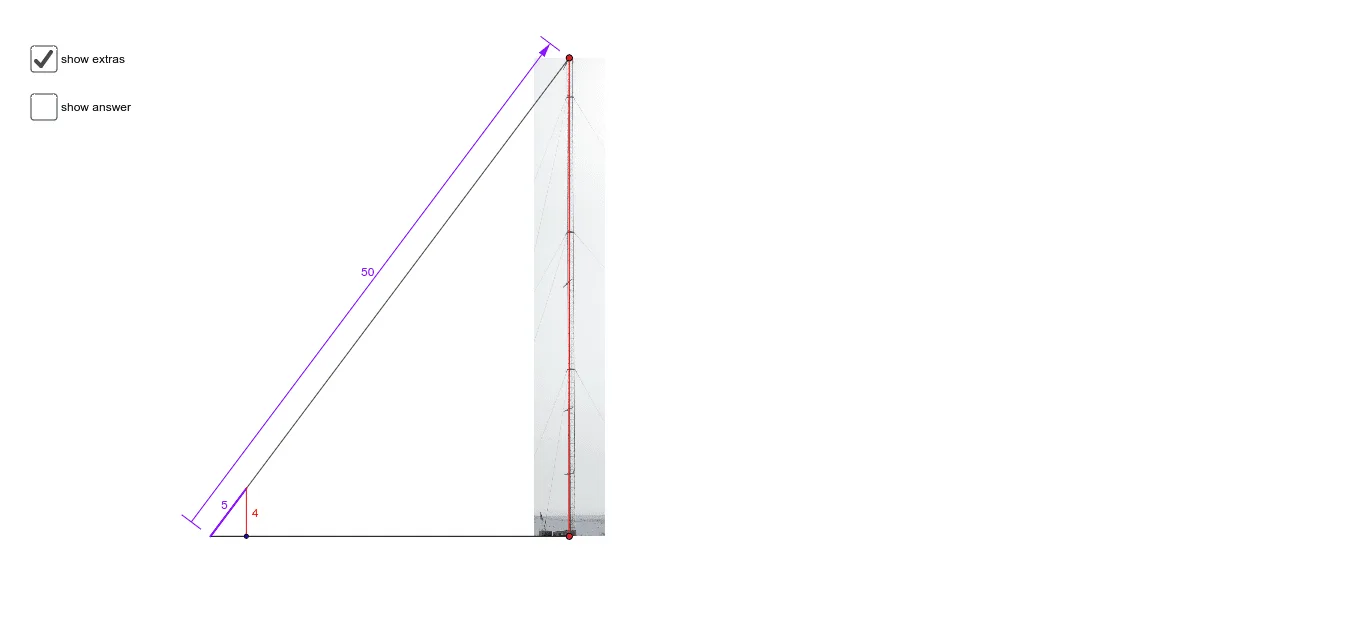
This example explains the concept of sine using similar triangles. It involves the core mathematical concept of trigonometric functions, specifically sine. By constructing the objects listed in the summary, we see the use of points, segments, angles, and vectors. Suitable for students at the middle school level and above to learn the basics of trigonometric functions.
GeoGebra Commands & Parameters
Point(xAxis) → APoint(Ray[A, A + (0, 1)]) → CSegment(O, A) → adjSegment(O, C) → hypSegment(C, A) → oppPoint(adj) → BAngle(A, O, C) → αSegment((cos(α + 90°), sin(α + 90°)), ((3 * cos(α + 90°)), (3 * sin(α + 90°)))) → tick2Vector(((2 * cos(α + 90°)), (2 * sin(α + 90°))), ((2 * cos(α + 90°)), (2 * sin(α + 90°))) + ((hyp * cos(α)), (hyp * sin(α)))) → uTranslate(tick2, u) → tick1Segment(O, (x(B), (opp / adj * x(B)))) → lText(hyp, Point[((3 * cos(α + 90°)), (3 * sin(α + 90°))), Vector[u / 2]]) → text1Segment(B, (x(B), (opp / adj * x(B)))) → hText(opp, (adj + 3, opp / 2)) → text2
AI Drawing Prompt Reference
Draw a right triangle with one leg OA along the x-axis and the other leg OC as the hypotenuse. Place point C on OC such that OC is the hypotenuse. Drop a perpendicular from C to OA, meeting at point B. Construct vectors for the cosine and sine of angle OAC, labeling the hypotenuse as hyp and the opposite side as opp. Draw a line segment from B to C and another from O to B, and label the hypotenuse and opposite side lengths.
The prompt above was compiled from the original drawing commands and is for reference only.