
Translation Tessellation Step 3
Loading the math board and drawing, please wait…
In collections
Translation Tesselation
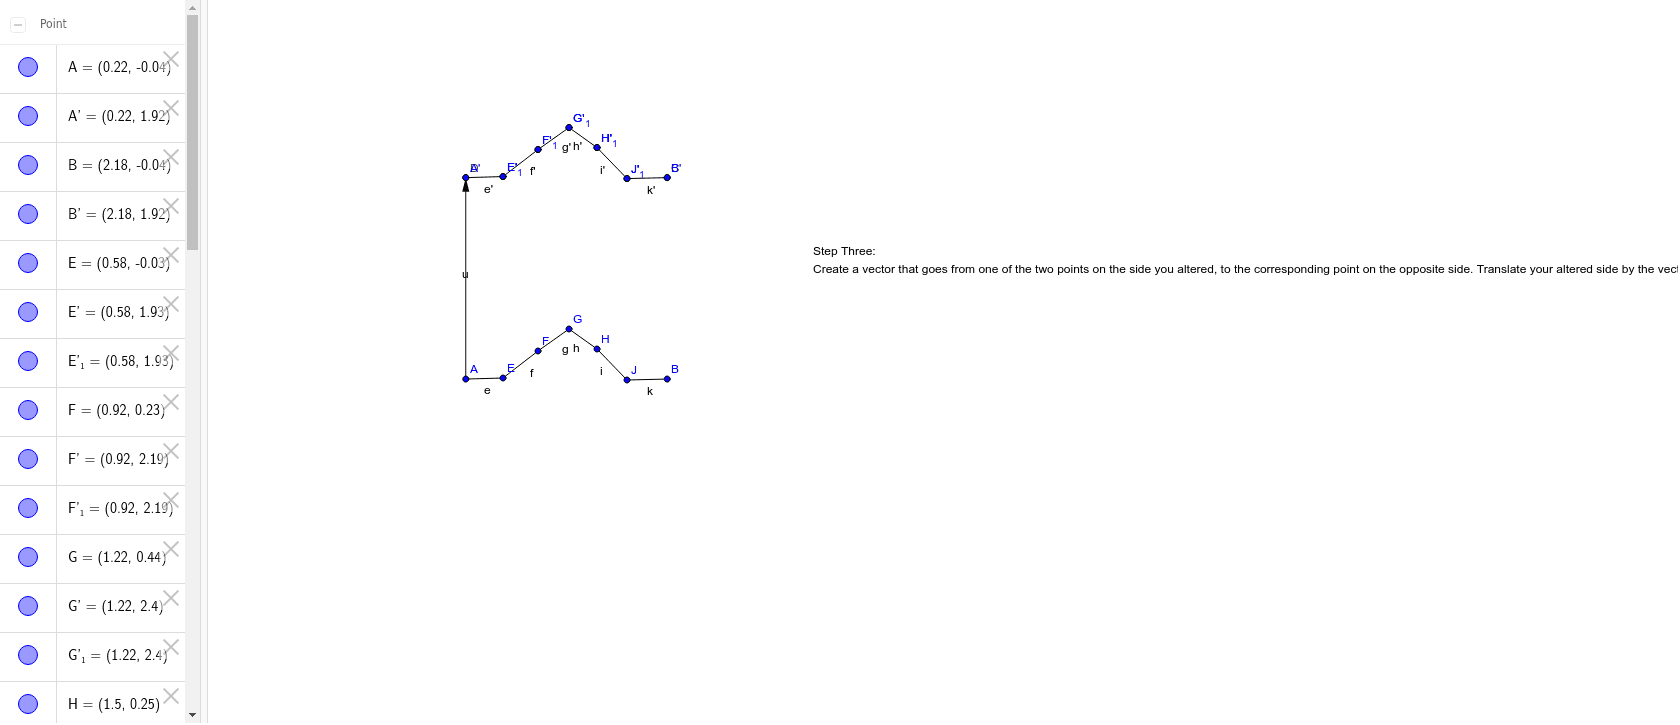
This example demonstrates the third step of translation tessellation. Key mathematical concepts include translation transformation and polygons. Using GeoGebra commands such as Polygon, Segment, Vector, and Translate, the construction of translated polygons is illustrated. Suitable for students at the junior high school level and above learning geometric transformations.
GeoGebra Commands & Parameters
Polygon(A, B, 4) → poly1, a, b, c, d, C, DSegment(A, E) → eSegment(E, F) → fSegment(F, G) → gSegment(G, H) → hSegment(J, B) → kSegment(H, J) → iVector(A, D) → uTranslate(A, u) → A'Translate(E, u) → E'Segment(A', E') → e'Translate(E, u) → E'_1Translate(F, u) → F'Segment(E'_1, F') → f'Translate(F, u) → F'_1Translate(G, u) → G'Segment(F'_1, G') → g'Translate(G, u) → G'_1Translate(H, u) → H'Segment(G'_1, H') → h'Translate(J, u) → J'Translate(B, u) → B'Segment(J', B') → k'Translate(H, u) → H'_1Translate(J, u) → J'_1Segment(H'_1, J'_1) → i'
AI Drawing Prompt Reference
Draw a quadrilateral and connect its vertices with four line segments to form a closed shape. Then, create a vector from one vertex to the opposite vertex. Use this vector to translate the quadrilateral, creating a new quadrilateral. Repeat the translation three more times with the same vector to get four translated quadrilaterals. Finally, connect these quadrilaterals to form a continuous translation tessellation pattern.
The prompt above was compiled from the original drawing commands and is for reference only.