
Rotation Tessellation Step 7
Loading the math board and drawing, please wait…
In collections
Rotation Tessellation
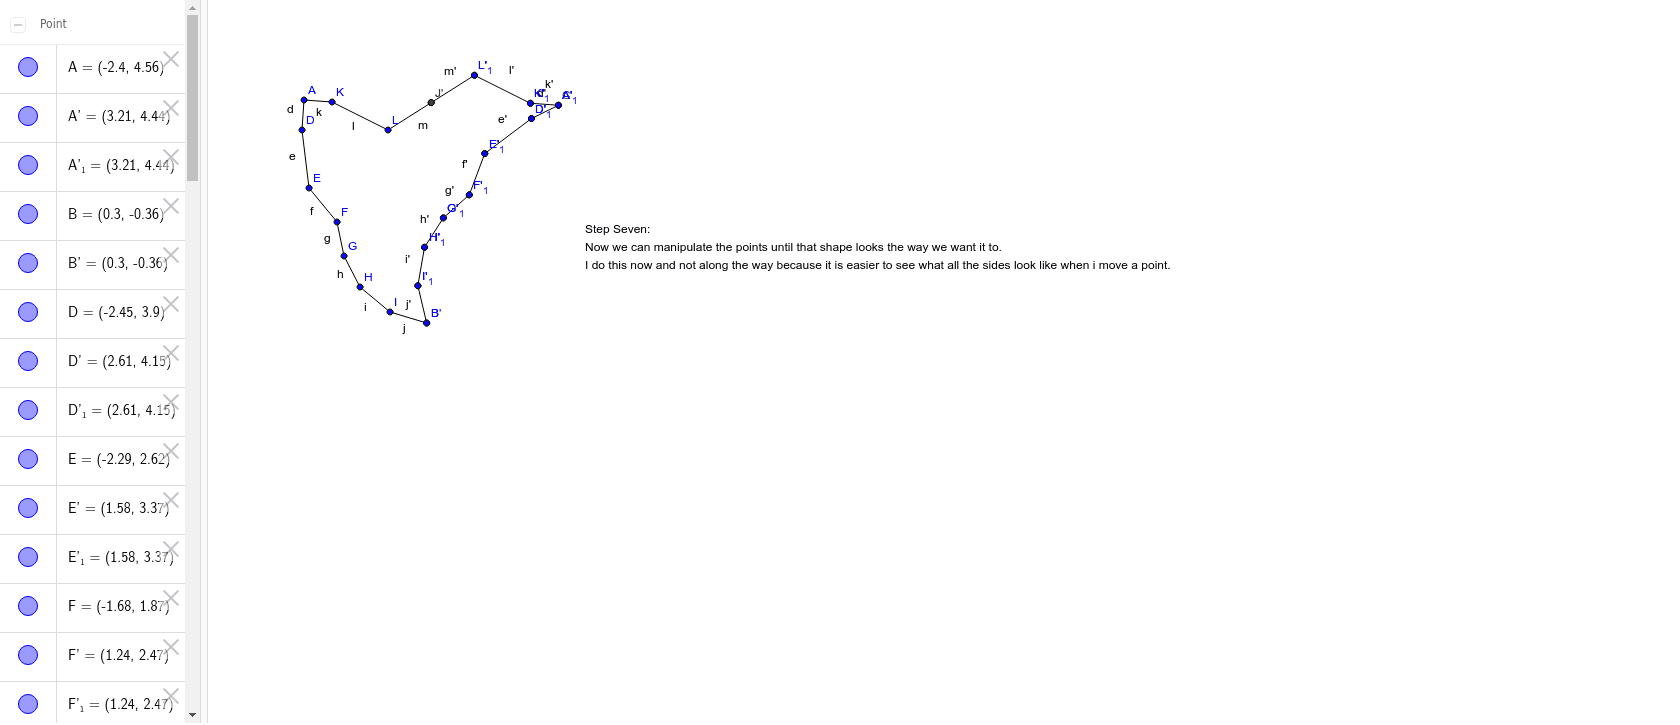
This example demonstrates the 7th step of a rotation tessellation. Key mathematical concepts include rotation, coordinates, area, and exponents. Using GeoGebra commands such as Polygon, Segment, Rotate, and Midpoint, complex geometric shapes can be constructed. Suitable for middle school and above students or teachers.
GeoGebra Commands & Parameters
Polygon(A, B, 3) → poly1, a, b, c, CSegment(A, D) → dSegment(D, E) → eSegment(E, F) → fSegment(F, G) → gSegment(G, H) → hSegment(H, I) → iSegment(I, B) → jRotate(A, 300*°, B) → A'Rotate(D, 300*°, B) → D'Segment(A', D') → d'Rotate(D, 300*°, B) → D'_1Rotate(E, 300*°, B) → E'Segment(D'_1, E') → e'Rotate(E, 300*°, B) → E'_1Rotate(F, 300*°, B) → F'Segment(E'_1, F') → f'Rotate(F, 300*°, B) → F'_1Rotate(G, 300*°, B) → G'Segment(F'_1, G') → g'Rotate(G, 300*°, B) → G'_1Rotate(H, 300*°, B) → H'Segment(G'_1, H') → h'Rotate(H, 300*°, B) → H'_1Rotate(I, 300*°, B) → I'Segment(H'_1, I') → i'Rotate(I, 300*°, B) → I'_1Rotate(B, 300*°, B) → B'Segment(I'_1, B') → j'Midpoint(A, C) → JSegment(A, K) → kSegment(K, L) → lSegment(L, J) → mRotate(A, 180*°, J) → A'_1Rotate(K, 180*°, J) → K'Segment(A'_1, K') → k'Rotate(K, 180*°, J) → K'_1Rotate(L, 180*°, J) → L'Segment(K'_1, L') → l'Rotate(L, 180*°, J) → L'_1Rotate(J, 180*°, J) → J'Segment(L'_1, J') → m'
AI Drawing Prompt Reference
Draw an equilateral triangle. Choose one vertex as the rotation center, rotate one side of the triangle by 300 degrees outward to create a new segment, then repeatedly rotate the endpoints of this new segment by 300 degrees and connect them, forming a spiral polyline of equal-length segments. Inside the triangle, take the midpoint of one side, connect it to two interior points to form a small triangle, then rotate this small triangle by 180 degrees about that midpoint to create its symmetric counterpart, resulting in a rotation tessellation pattern with two symmetric inner triangles and an outer spiral.
The prompt above was compiled from the original drawing commands and is for reference only.