
Protractor Practice: Ellipse and Cone Construction
Loading the math board and drawing, please wait…
In collections
Introduction to Angles
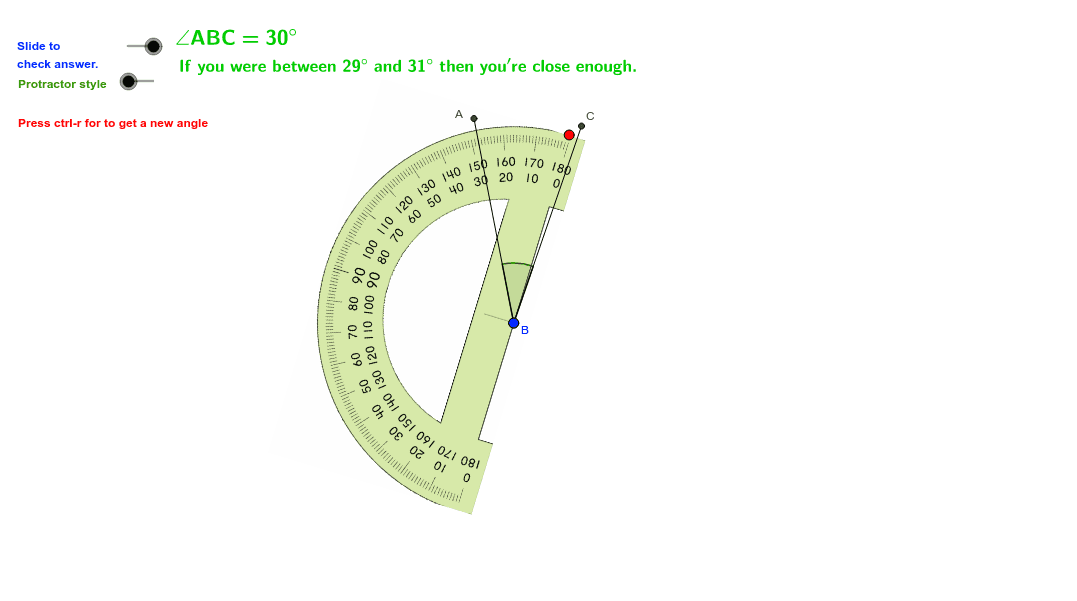
This example demonstrates how to draw ellipses and cones using GeoGebra, focusing on concepts like ellipse definition, cone geometry, and proportion calculations. Key construction steps involve using commands like Circle, Line, Intersect, and Angle to create the shapes. Suitable for middle school students learning geometric construction principles and proportion concepts, useful for classroom teaching or self-study.
GeoGebra Commands & Parameters
Circle(B, a) → cLine(B, xAxis) → bIntersect(c, b, 2) → C_1Rotate(C_1, α, B) → CAngle(C_1, B, C) → βSegment(B, C) → dRotate(C, γ, B) → AAngle(C, B, A) → δSegment(B, A) → eCircle(D, f) → gPoint(g) → ERotate(E, (-ε), D) → E'Angle(E', D, E) → ζRotate(E, 184*°, D) → E'_1Angle(E, D, E'_1) → ηCircle(F, protrac2) → hPoint(h) → GRotate(G, (-adjust), F) → G'Angle(G', F, G) → θRotate(G, adjust + 180°, F) → G'_1Angle(G, F, G'_1) → ι
AI Drawing Prompt Reference
Draw a protractor practice figure involving an ellipse and a cone. Start with a circle centered at a point, draw a horizontal line through the center intersecting the circle, then rotate that intersection point around the center by an angle to create a new point, and connect the center to this point with a segment. Next, rotate this new point around the same center by another angle to get a second point, and draw a segment from the center to it. Then, create a second circle with a different center, pick a point on it, rotate it by a negative angle around its center to get a symmetric point, and also rotate it by a larger angle to get a third point, measuring the angles between these points. Finally, use a third center to draw another circle, take a point on it, rotate it by a negative adjustment and then by an adjustment plus 180 degrees, and measure the resulting angles to complete the protractor-like structure.
The prompt above was compiled from the original drawing commands and is for reference only.