
Cosine Rule Demonstration
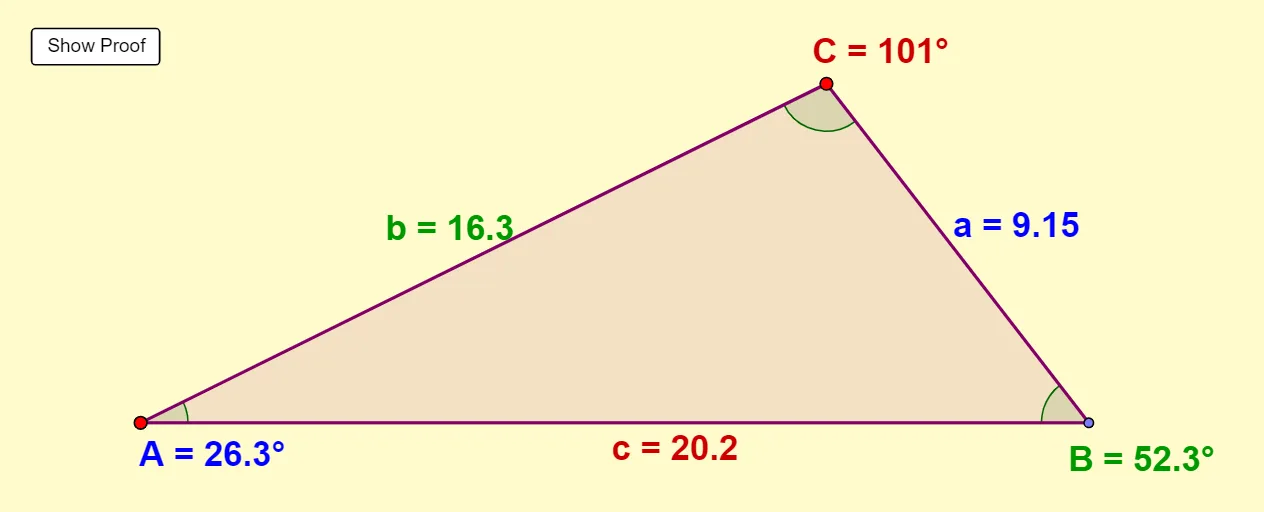
Loading the math board and drawing, please wait…
This example demonstrates the application of the cosine rule in any triangle, visually showing the relationship between side lengths and angles. Core math concepts include the cosine rule, triangle geometry, vectors, and slopes. Construction highlights involve using GeoGebra commands like Point, Polygon, OrthogonalLine, Intersect, Segment, Angle, Midpoint to build a triangle, label sides and angles, and dynamically adjust the triangle shape with sliders to verify the cosine rule formula in real-time. Suitable for high school mathematics teaching to help students intuitively understand the cosine rule and its applications.
GeoGebra Commands & Parameters
Point(xAxis) → APoint(xAxis) → BPolygon(A, B, C) → poly1, c, a, bOrthogonalLine(C, c) → dIntersect(d, xAxis) → DSegment(C, D) → eAngle(B, A, C) → αAngle(C, B, A) → βAngle(A, C, B) → γSegment(D, A) → fMidpoint(a) → EMidpoint(c) → FMidpoint(b) → GAngle(A, D, C) → δMidpoint(e) → HMidpoint(f) → IMidpoint(D, B) → J
AI Drawing Prompt Reference
Draw a triangle with labeled vertices and sides, using a slider to dynamically adjust its shape. Inside the triangle, draw perpendicular lines from each vertex to the opposite side, marking the feet of the perpendiculars. Display the measures of the three interior angles and the right triangles formed by the perpendiculars and sides. As the triangle shape changes with the slider, dynamically show the relationship between side lengths and angles according to the cosine rule.
The prompt above was compiled from the original drawing commands and is for reference only.