
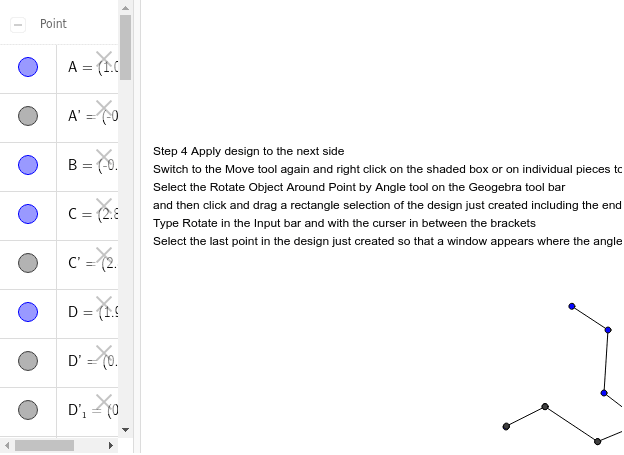
Apply design to the next side
Loading the math board and drawing, please wait…
In collections
Not Real, Practice Triangle Rotation Tessellation Math 206
This example demonstrates applying a design to the next side in a geometric figure, involving core concepts like line segments, rotation, and midpoints in geometric construction. Key GeoGebra commands and objects used include Segment, Rotate, and Midpoint. Suitable for middle school and above students learning geometric transformations and constructions.
GeoGebra Commands & Parameters
Segment(A, B) → aSegment(B, C) → bSegment(C, A) → cSegment(A, D) → dSegment(D, E) → eSegment(E, C) → fRotate(A, 59.99999999999999°, C) → A'Rotate(D, 59.99999999999999°, C) → D'Segment(A', D') → d'Rotate(D, 59.99999999999999°, C) → D'_1Rotate(E, 59.99999999999999°, C) → E'Segment(D'_1, E') → e'Rotate(E, 59.99999999999999°, C) → E'_1Rotate(C, 59.99999999999999°, C) → C'Segment(E'_1, C') → f'Midpoint(a) → F