
Right and Oblique Pyramid
Loading the math board and drawing, please wait…
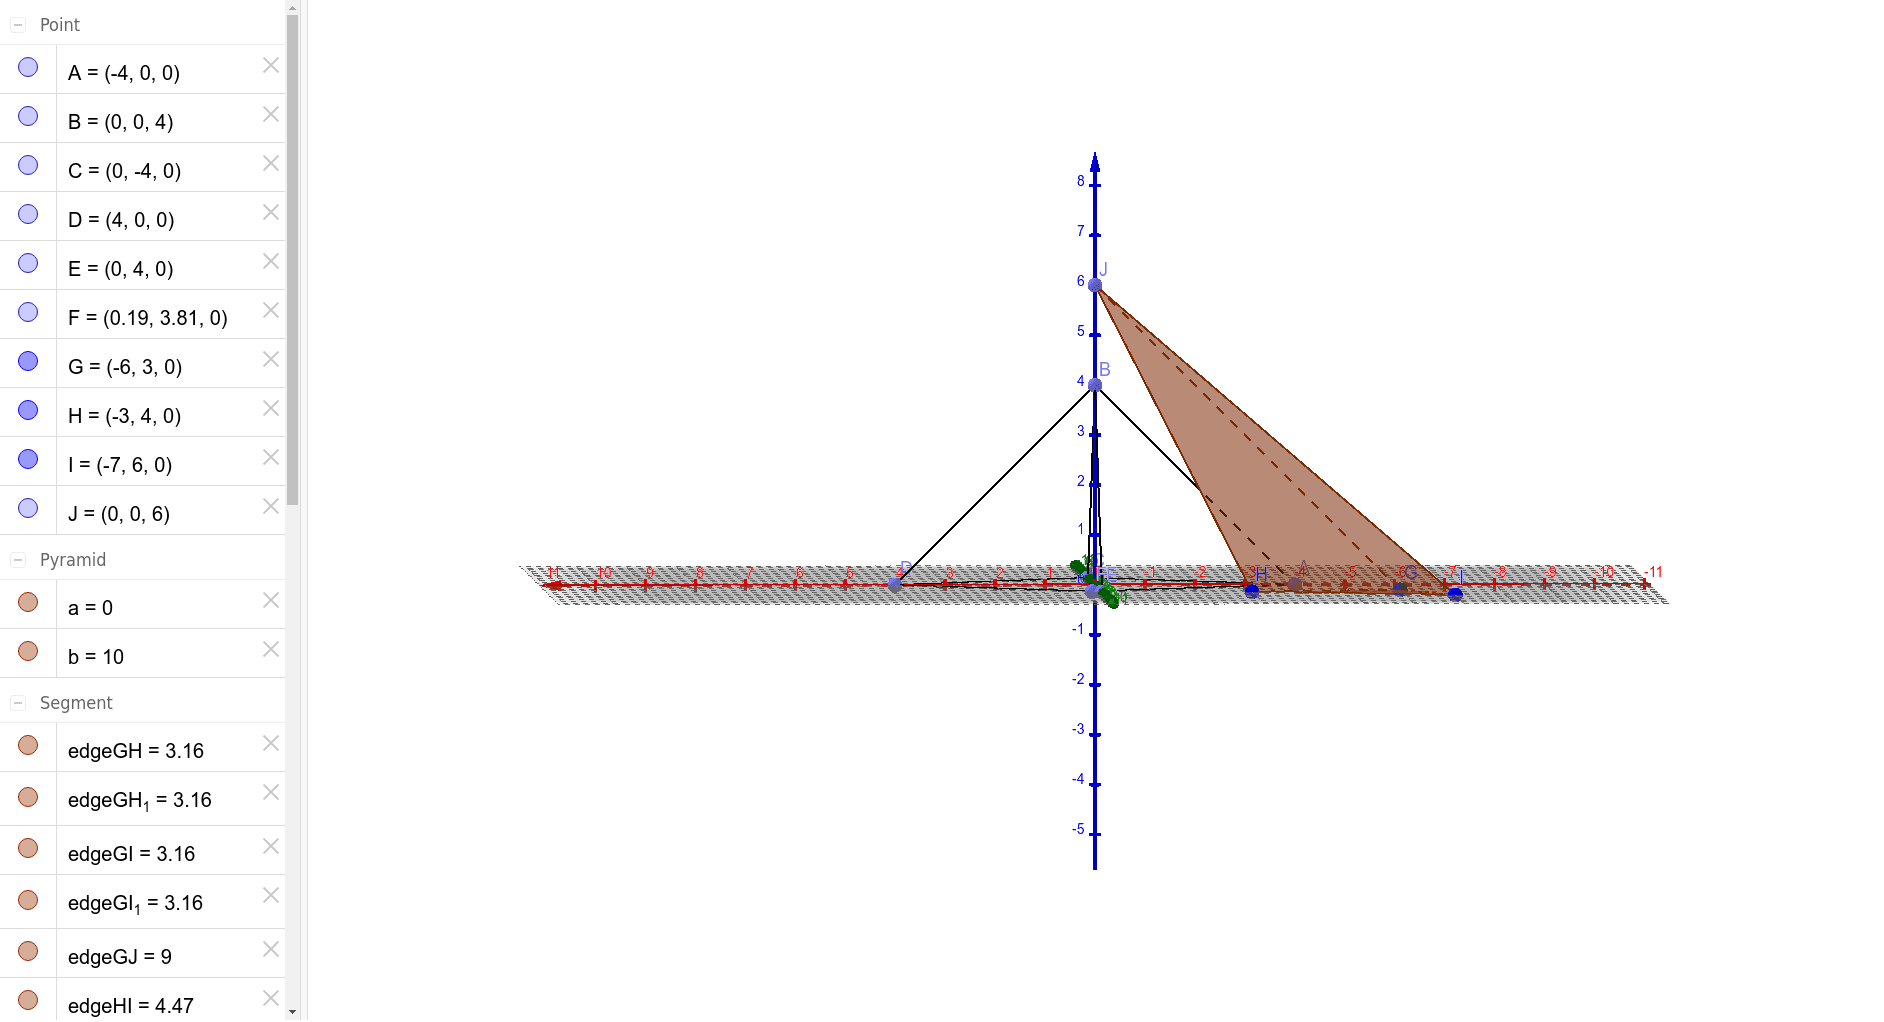
This example demonstrates the construction of right and oblique pyramids. It involves the definition and properties of pyramids, and how to use GeoGebra to draw the faces and edges of a pyramid. Commands such as Point, Segment, and Polygon are used to construct the various faces and edges of the pyramid. Suitable for middle and high school students studying solid geometry.
GeoGebra Commands & Parameters
Point(xAxis) → APoint(zAxis) → BSegment(A, B) → fPoint(yAxis) → CSegment(C, B) → gPoint(xAxis) → DSegment(D, B) → hPoint(yAxis) → ESegment(E, B) → iSegment(C, A) → jSegment(D, C) → kSegment(E, D) → lPoint(l) → FSegment(F, A) → mPyramid(H, I, G, I) → a, face1, edgeGI_1, faceHII, faceGII, faceGHI_1, edgeHI_1, edgeGI_1, edgeGH_1, edgeHI_1, edgeIIPoint(zAxis) → JPyramid(G, H, I, J) → b, faceGHI, edgeIJ, faceGHJ, faceHIJ, faceGIJ, edgeGH, edgeHI, edgeGI, edgeGJ, edgeHJ
AI Drawing Prompt Reference
Draw a right pyramid and an oblique pyramid. Start by taking a point A on the x-axis and a point B on the z-axis, then connect AB. Next, take a point C on the y-axis and connect BC, BD, and BE. Then, connect AC, CD, and DE. Finally, take a point F on DE and connect AF. Construct a tetrahedron with vertices A, B, C, and F to form the right pyramid. On the z-axis, take a point J, and construct another tetrahedron with vertices G, H, I, and J to form the oblique pyramid.
The prompt above was compiled from the original drawing commands and is for reference only.