
Geometric Demonstration of Square Areas and Side Lengths
Loading the math board and drawing, please wait…
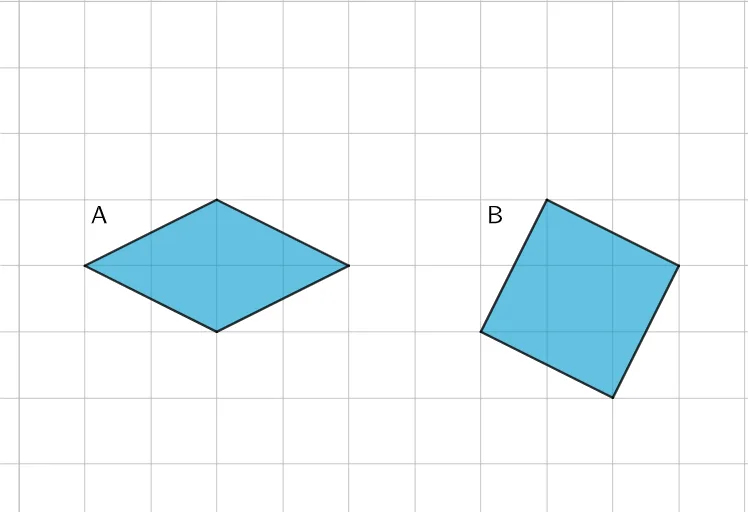
This example constructs and compares squares in the plane to visually demonstrate how a square’s area is determined by its side length, emphasizing the relationship S = a^2 through measurement and construction. The key math ideas are the area formula for squares, side length as a geometric quantity, and the way new side lengths/areas emerge from point-based geometric construction and organization. In the GeoGebra build, the Polygon command is used to draw the polygonal shapes from the vertex objects A, B, C, D, E, F, G, H, while text1 and text2 provide labels for displayed measures or results. Additional constructed/parameter objects (q1, q2, c, a, b, d, e, f, g, h) support the definition of important points and length parameters so that students can directly see how changes in side length affect the corresponding area values. Suitable for middle school and early high school geometry instruction, classroom demonstrations, and interactive learning tasks on connecting algebraic formulas with geometric reasoning.
GeoGebra Commands & Parameters
Polygon(C, A, D, B) → q1, c, a, d, bPolygon(F, E, H, G) → q2, f, e, h, g
AI Drawing Prompt Reference
Draw two separate quadrilateral shapes side by side on a plane to illustrate squares built from vertex points. Construct the first closed polygon by connecting four specified vertices in order, forming a square-like shape with clearly visible side length (and its corresponding area-related measure). Then construct a second closed polygon using another set of four specified vertices, again connecting them in order to form a comparable square-like region. Keep both shapes in the same scene so their vertex-to-edge connections are easy to see and compare, supporting the idea that side length determines area.
The prompt above was compiled from the original drawing commands and is for reference only.