
Equilateral Triangle Construction Practice
Loading the math board and drawing, please wait…
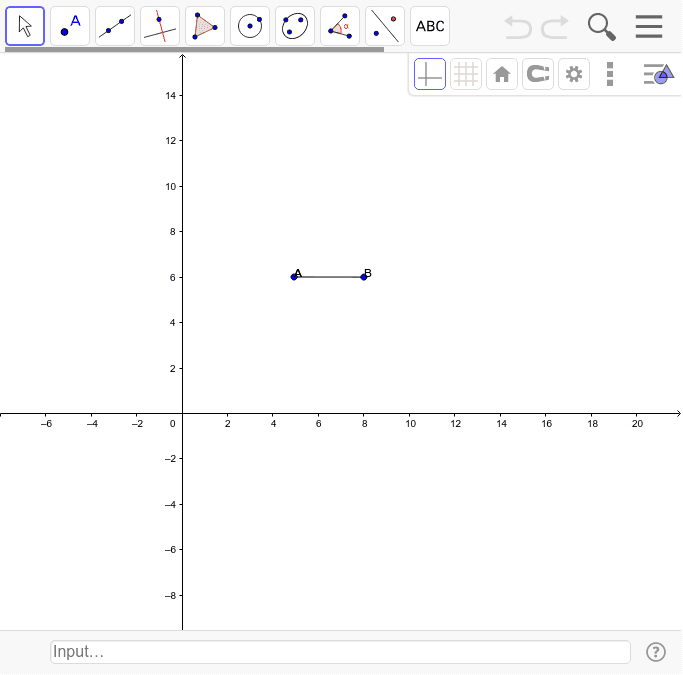
This example demonstrates how to construct an equilateral triangle using compass and straightedge. The core mathematical concepts include the three equal sides of an equilateral triangle, all three interior angles being 60 degrees, and finding the third vertex by intersecting two arcs. According to the construction summary, this GeoGebra worksheet uses the Segment command to draw side AB, creates arcs centered at A and B with radius AB to intersect at point C, then connects AC and BC to complete the triangle. Text objects (text1, text2, text3) are included to display step-by-step construction instructions. Suitable for middle school students (grades 7-9) as an introductory geometry exercise or classroom demonstration material, helping students master basic geometric construction skills and understand the properties of equilateral triangles.
GeoGebra Commands & Parameters
Segment(A, B) → a
AI Drawing Prompt Reference
Construct an equilateral triangle using a straightedge and compass by first drawing a base segment, then drawing two arcs centered at the segment’s endpoints with radius equal to the segment length; the two arcs intersect at a single point, which is then joined to each endpoint of the base segment to form the remaining two sides, resulting in a triangle with three equal sides and three interior angles of sixty degrees.
The prompt above was compiled from the original drawing commands and is for reference only.