
Construction of a Rhombus: 3D Geometry with Vectors and Rotation
Loading the math board and drawing, please wait…
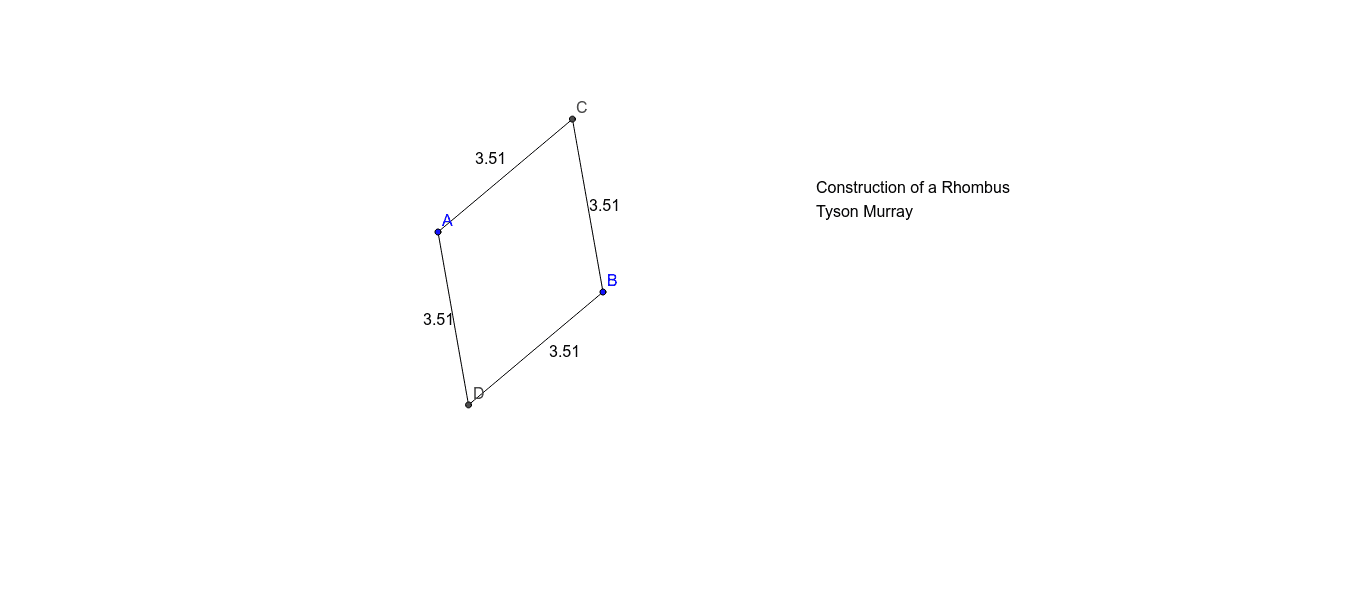
①This example demonstrates how to construct a rhombus in three-dimensional space using basic geometric tools such as circles, intersections, and segments, while linking it to vectors, rotation, and a cone. ②Core mathematical concepts include the definition of a rhombus (all sides equal), vector addition/subtraction and rotation, spatial geometric construction, and the relationship with a cone's lateral surface. ③Construction details: from the summary, the commands used are Circle (to define vertex loci), Intersect (to obtain key points), and Segment (to connect vertices into the rhombus); objects include points A, B, C, D, lines/segments c, d, e, f, and a text label text1. ④This is suitable for middle or high school geometry or solid geometry classes, helping students understand rhombus properties, vector operations, and 3D construction techniques, and can serve as an advanced GeoGebra tutorial.
GeoGebra Commands & Parameters
Circle(A, B) → cCircle(B, A) → dIntersect(c, d, 2) → DSegment(B, D) → eSegment(A, D) → fIntersect(c, d, 1) → CSegment(A, C) → aSegment(C, B) → b
AI Drawing Prompt Reference
Draw a rhombus in 3D space. First, draw two circles from points A and B. The intersection points D and C are the vertices of the rhombus. Then, connect B to D and A to D to form the sides. Next, connect A to C and C to B to complete the rhombus. Ensure all sides are equal and note the relationship with a cone's lateral surface.
The prompt above was compiled from the original drawing commands and is for reference only.