
Constructing an Angle Bisector with Straightedge-and-Compass Style Steps
Loading the math board and drawing, please wait…
In collections
Section 1-5 Notes - Basic Constructions
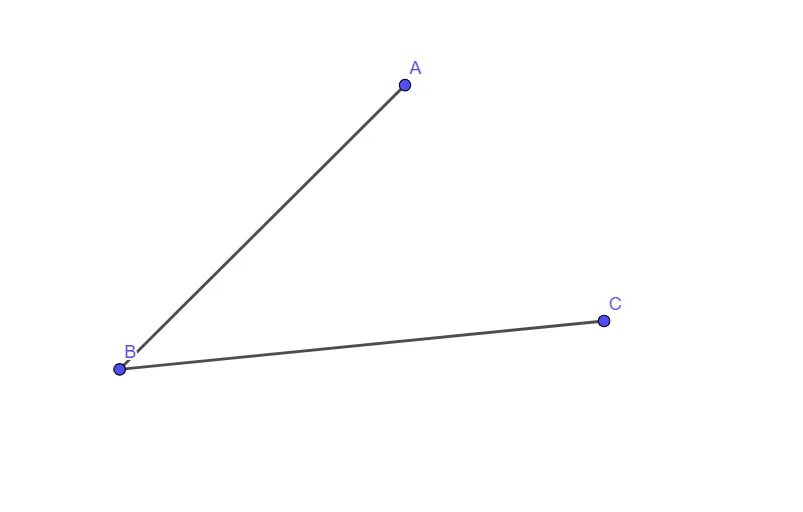
This example demonstrates how to construct an angle bisector for a given angle, making the result visually clear by splitting the angle into two equal parts. It centers on the geometric definition and property of an angle bisector, using the key idea of equal distances and the intersection points obtained from auxiliary circles (the standard strategy behind classical straightedge-and-compass constructions). In the construction workflow, the provided GeoGebra summary indicates the use of the “Segment” command to create and connect essential geometric objects: points/objects labeled A, B, f, C, and g. These constructed points serve as the backbone for locating the bisector direction from the given angle. The activity is suitable for middle-school to early high-school geometry, as well as for math enrichment or contest preparation focused on rigorous geometric construction and reasoning.
GeoGebra Commands & Parameters
Segment(A, B) → fSegment(B, C) → g
AI Drawing Prompt Reference
Construct an angle bisector. First, use a straightedge to draw a line segment between point A and point B, labeled as f. Then, draw another line segment between point B and point C, labeled as g. Next, use a compass to draw two circles with point B as the center and the lengths of line segments f and g as the radii. The intersection points of these two circles are on the angle bisector. Finally, draw a line segment connecting these intersection points to point B to form the angle bisector.
The prompt above was compiled from the original drawing commands and is for reference only.