
Exploring the Properties of a Rhombus by Rosalie83
Loading the math board and drawing, please wait…
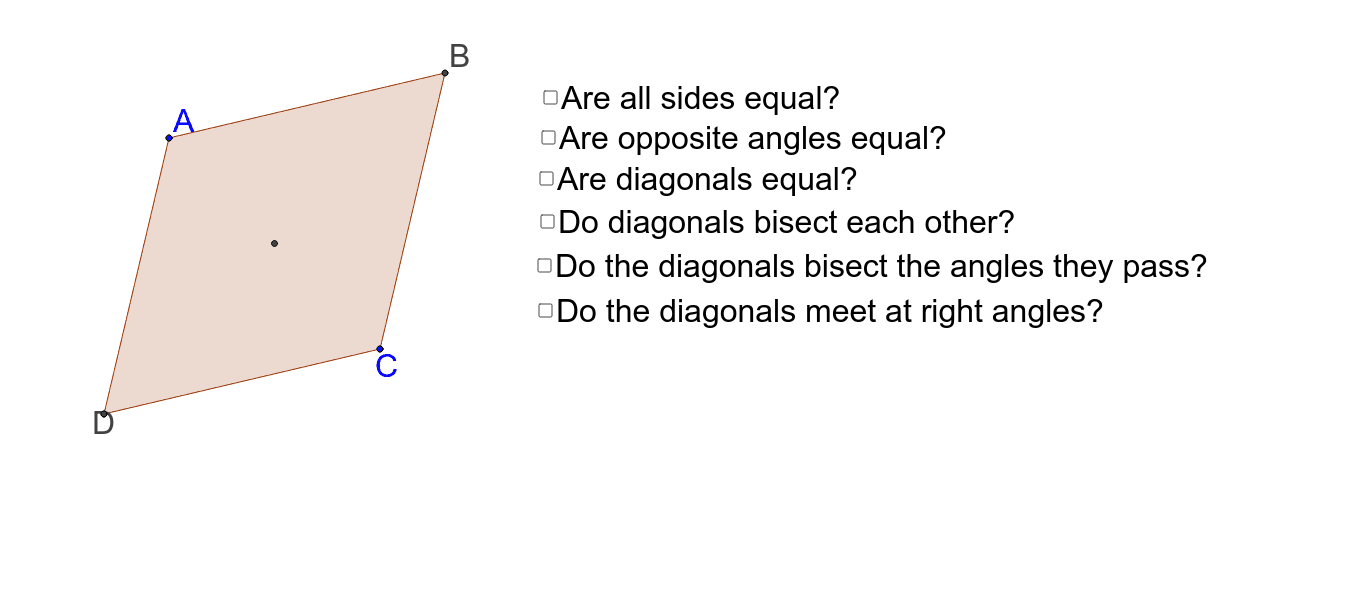
This example allows you to explore the properties of a rhombus by checking different options. Key mathematical concepts include geometric properties, logic, and statistical characteristics. Using GeoGebra commands such as Intersect, Line, and Segment, you can dynamically change the size of the rhombus and observe its changes. Suitable for middle school and above students to learn geometric construction and dynamic geometry.
GeoGebra Commands & Parameters
Intersect(xAxis, yAxis) → DLine(D, A) → aSegment(D, A) → bLine(D, C_1) → cMirror(yAxis, b) → yAxis'Segment(D, A) → dMirror(D, c) → A'Mirror(A, c) → CSegment(A', C) → d'Line(C, A) → ePolygon(A, D, C) → poly1, b', b_1, a_1Mirror(A, a_1) → B'_1Mirror(D, a_1) → BMirror(C, a_1) → B''Polygon(B'_1, B, B'') → poly1', b'', b'_1, a'_1Polygon(D, A, C_1, C) → poly2, a_2, b_2, c_1, b'_2Polygon(A, D, C, B) → poly3, b_3, a_3, b'_3, a'_2Polygon(D, A, B, C) → poly4, a_4, b_4, a'_3, b'_4Angle(C, D, A) → αAngle(D, A, B) → βAngle(A, B, C) → γAngle(B, C, D) → δSegment(D, B) → hSegment(A, C) → iIntersect(h, i) → D_1Segment(D, D_1) → kSegment(D_1, B) → lSegment(D_1, A) → mSegment(D_1, C) → nAngle(D_1, D, A) → εAngle(D, A, D_1) → ζAngle(D_1, A, B) → ηAngle(A, B, D_1) → θAngle(D_1, B, C) → ιAngle(B, C, D_1) → κAngle(D_1, C, D) → λAngle(C, D, D_1) → μAngle(A, D_1, D) → νAngle(D, D_1, C) → ξAngle(C, D_1, B) → οAngle(B, D_1, A) → ρPolygon(A, B, C, D) → poly5, a_5, b_5, c_2, d_1Segment(A, C) → pSegment(D, B) → sSegment(A, C) → rSegment(D, B) → e_1
AI Drawing Prompt Reference
Draw a rhombus ABCD with diagonals AC and BD intersecting at point D1. Measure and display the four angles α, β, γ, δ of the rhombus, as well as the angles ε, ζ, η, θ, ι, κ, λ, μ, ν, ξ, ο, ρ formed by the intersection of D1 with the vertices of the rhombus.
The prompt above was compiled from the original drawing commands and is for reference only.